
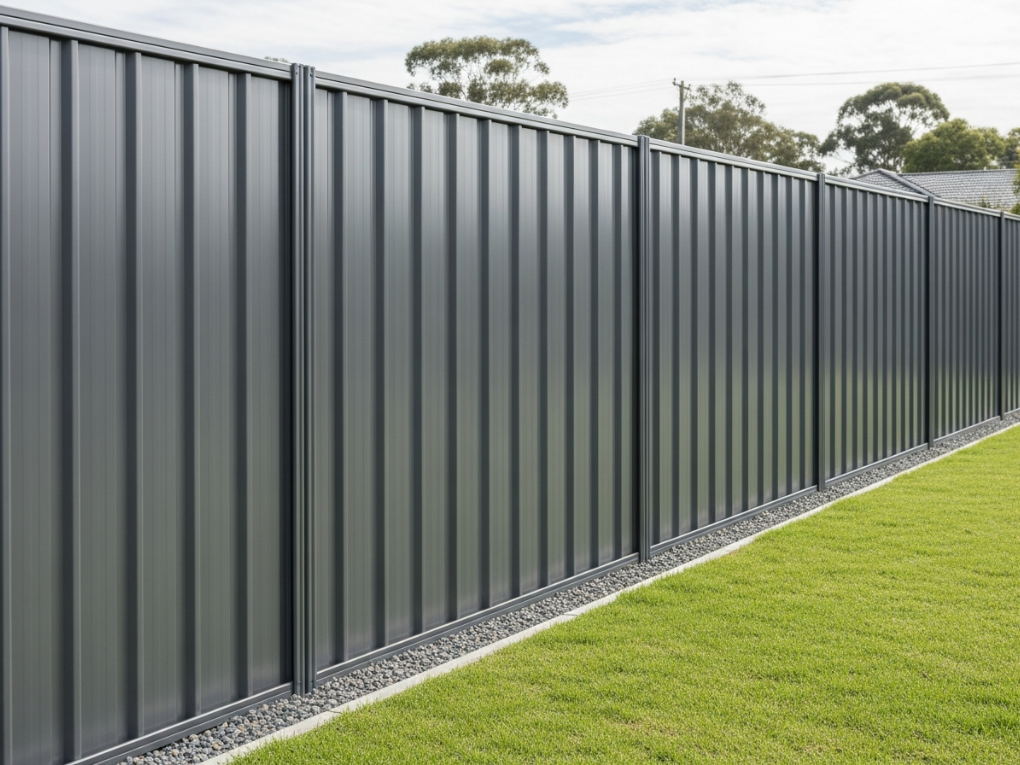
How to Paint a Colorbond Fence: Step-by-Step Guide
Repainting a Colorbond fence is one of the quickest and most cost-effective ways to refresh your outdoor space and enhance your home’s curb appeal. Whether your fence has faded, become scratched, or simply no longer suits the updated look of your property, repainting is entirely possible—and with the right preparation, the results can last for years.
This detailed step-by-step guide covers the best tools, products, techniques, and expert tips to help you achieve a flawless, long-lasting finish on any Colorbond steel fence in house painters in melbourne
Why Paint a Colorbond Fence?
Colorbond steel is extremely durable, but over time, even high-quality steel fencing can fade or lose its original finish. Painting is an ideal solution when:
- You want to update your home’s exterior colour scheme.
- UV exposure or coastal conditions have faded the original coating.
- Your fence has scratches, discoloration, or patchy areas.
- You want a quick and affordable backyard makeover.
- Replacing the fence is too expensive or unnecessary.
A fresh coat of paint can instantly modernise your outdoor space and help your fence blend seamlessly with your landscaping and home’s design.
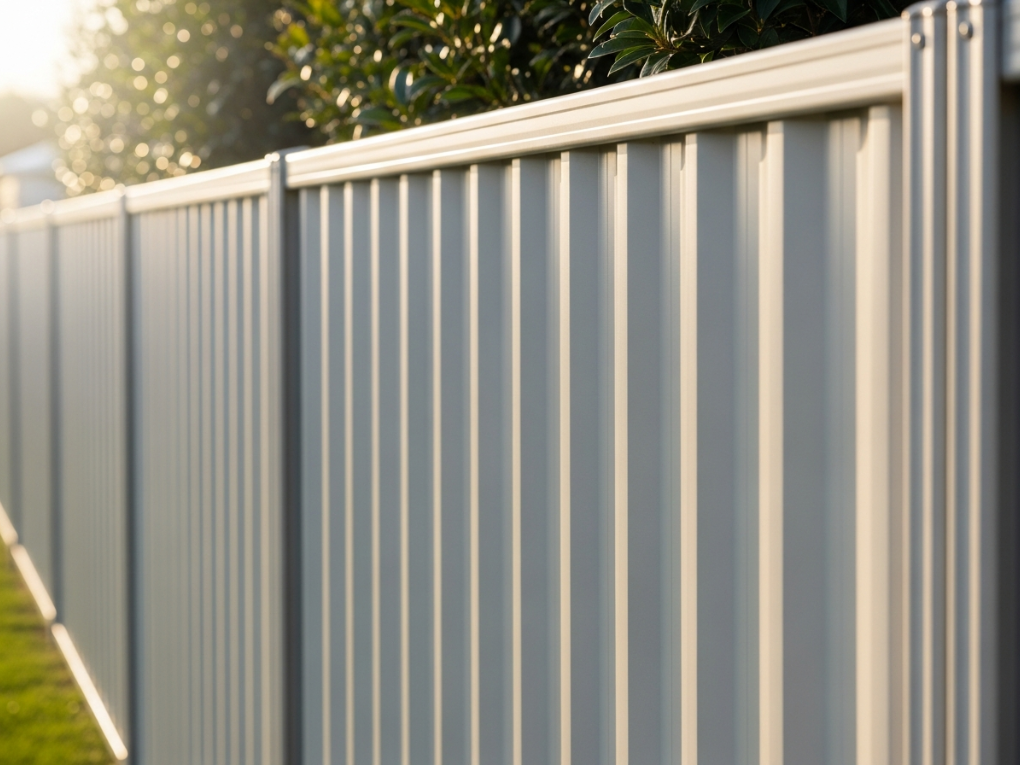
Can You Paint Colorbond Steel? What You Need to Know Before You Start
Many homeowners wonder whether Colorbond steel can be repainted. The answer is yes—it absolutely can.
Colorbond is a pre-painted steel product, which means ordinary paint may not adhere properly without adequate preparation. The key to success is:
- Thorough cleaning
- Light sanding
- Using the correct primer (if required)
- Applying a high-quality exterior paint designed for metal surfaces
Follow these steps carefully, and your paint finish can look like new for many years.
Common Myths
“Paint won’t stick to Colorbond panels.”
In reality, paint adheres very well when the surface is properly prepared.
“You don’t need to clean it first.”
Degreasing is essential to prevent peeling and adhesion problems.
“Any exterior paint will work.”
Only certain paints are suitable for metal surfaces and Colorbond steel.
Tools and Materials You’ll Need
Essential Tools
- Roller with a 10–12mm nap
- High-quality paintbrushes (for edges and posts)
- Paint sprayer (optional but provides the best finish)
- Drop sheets
- Painter’s tape
- Sanding pads or fine-grit sandpaper
- Buckets, sponges, and microfibre cloths
Recommended Paint Products
For long-lasting results, choose trusted exterior paint brands such as:
- Dulux Weathershield
- Taubmans All Weather
- Wattyl Solagard
- Resene Lumbersider
- Haymes Solashield
Look for products labelled as suitable for metal or Colorbond surfaces.
Cleaning and Preparation Supplies
- Sugar soap or TSP (trisodium phosphate)
- Garden hose or pressure washer
- Rust converter (if required)
- Metal etch primer (for exposed steel or repairs)
Step 1 – Clean and Prepare the Colorbond Surface
Excellent results depend on excellent preparation.
Remove Dirt, Mould, and Grease
Use a sugar soap or TSP solution mixed with warm water. Thoroughly scrub the entire fence to remove:
- Dirt and dust
- Mould and mildew
- Grease
- Spider webs
- Oxidised paint residue
Rinse thoroughly and allow the fence to dry completely.
Repair Scratches and Rust
If you notice exposed metal or rust spots:
- Sand away any loose rust.
- Apply a rust converter if necessary.
- Allow it to dry completely before priming.
Lightly Sand for Better Adhesion
Use fine-grit sandpaper to lightly scuff the surface. This improves paint adhesion and helps prevent future peeling.
Wipe away dust with a clean, dry microfibre cloth.
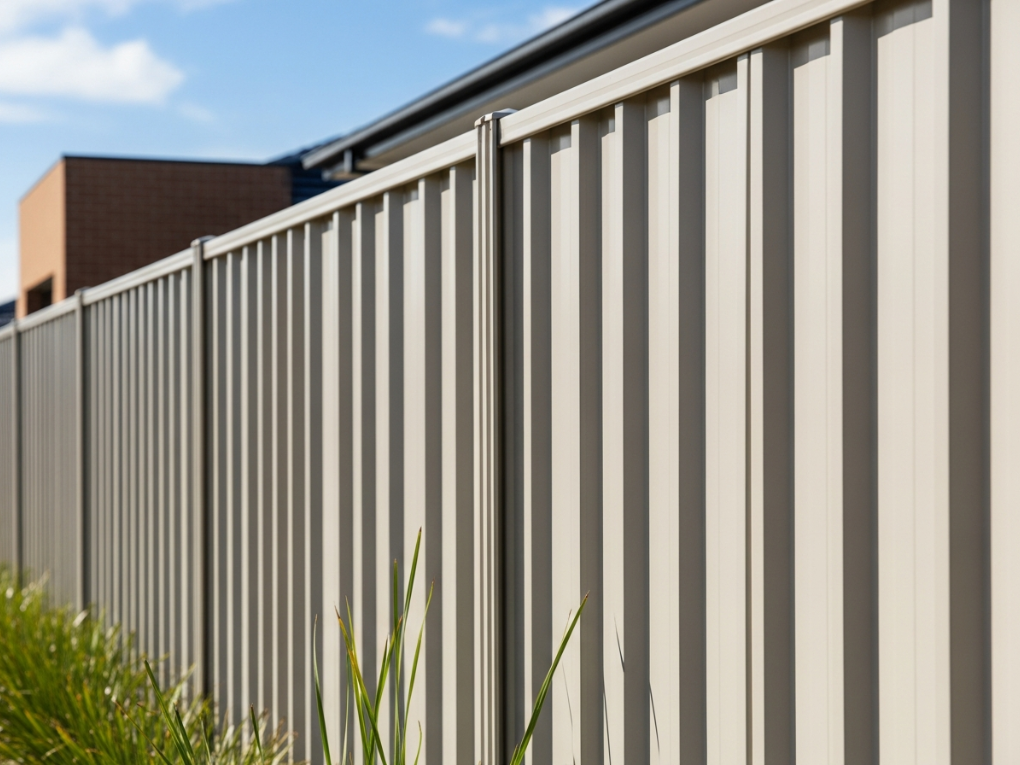
Step 2 – Apply Primer (If Required)
Many Colorbond fences can be painted without primer, but there are some exceptions.
When Should You Use an Etch Primer?
Apply primer if your fence has:
- Exposed metal
- Deep scratches
- Rust-repaired areas
- A particularly smooth, glossy surface
Apply a thin, even coat and allow it to dry according to the manufacturer’s instructions.
How to Apply Primer for a Smooth Finish
Use a brush for edges and difficult areas, then apply primer to larger sections with a roller or sprayer. Avoid drips and ensure complete coverage over repaired areas.
Step 3 – Paint the Colorbond Fence
Now comes the exciting part—adding colour.
Choosing the Right Paint
Use:
- Premium exterior acrylic paint
- UV-resistant formulations
- Products specifically labelled for metal or Colorbond surfaces
Avoid cheap paints, as they generally won’t withstand Australia’s harsh sunlight.
Rolling vs Spraying: Pros and Cons
Rolling
✔ Easy for beginners
✔ Good coverage
✖ May leave slight roller texture
Spraying
✔ Smooth, factory-like finish
✔ Fast application
✖ Requires safety equipment and practice
Number of Coats and Drying Time
- Apply at least two coats.
- Allow 2–4 hours drying time between coats (check the product label).
- Avoid painting in strong winds or direct, intense sunlight.
- Ideal painting temperatures are between 15°C and 28°C.
Step 4 – Finishing Touches
Clean Up Edges and Touch Up Imperfections
Inspect the fence for:
- Missed corners
- Overspray
- Thin patches
- Paint drips
Touch up any areas as needed.
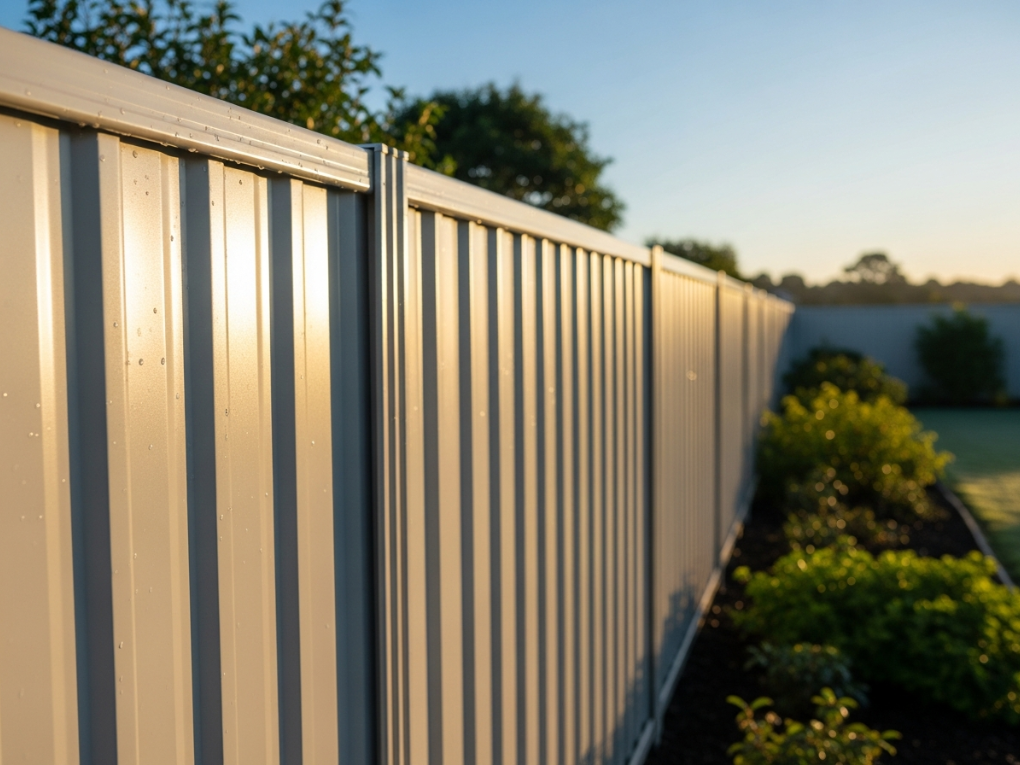
Apply a Protective Exterior Clear Coat
A UV-resistant clear protective coating can extend the life of your paint finish by several years.
Maintaining a Painted Fence
- Wash annually with mild soapy water.
- Repaint every 5–7 years if required.
- Avoid leaning heavy objects against the fence.
How Much Does It Cost to Paint a Colorbond Fence?
DIY Cost Estimate
- Paint: $60–$140 per litre
- Primer: $25–$40
- Tools and supplies: $40–$150
Total: Approximately $180–$450 depending on fence size.
Professional Painting Costs
In Australia, professional fence painting typically costs between $25 and $45 per square metre, including labour, preparation, and premium materials.
If you want the best possible result with minimal effort, hiring a professional for fence painting can help ensure proper surface preparation, premium-quality finishes, and long-lasting protection for your Colorbond fence.
Popular Colour Ideas for Colorbond Fences
Modern Neutral Tones
- Monument
- Surfmist
- Shale Grey
Coastal and Hamptons-Inspired Colours
- Surfmist
- Dune
- Classic Cream
Bold Contemporary Colours
- Woodland Grey
- Basalt
- Ironstone
Choose colours that complement your roof, gutters, and surrounding landscape.
When Should You Hire a Professional Painter?
Consider hiring a professional if:
- Your fence has significant damage.
- You lack the time or confidence to do it yourself.
- The fence is particularly long.
- You want a smooth, factory-style spray finish.
A reputable painter will provide:
- Premium-quality products
- Thorough preparation
- Workmanship warranties
- Faster completion times
Final Tips for a Long-Lasting Finish
- Paint during mild weather conditions.
- Avoid painting immediately after rain.
- Ensure the surface is completely clean and dry.
- Never skip sanding and preparation.
- Use high-quality UV-resistant paint.
A properly painted Colorbond fence can last 10 years or more when maintained correctly.
Frequently Asked Questions
What Is the Best Paint for a Colorbond Fence?
Choose premium exterior acrylic paints designed for metal surfaces, such as Dulux Weathershield or Taubmans All Weather. These products offer superior durability and UV resistance.
Do I Need to Prime Colorbond Before Painting?
Only if the fence has exposed metal, rust-repaired areas, or an exceptionally smooth surface. Otherwise, light sanding and cleaning are usually sufficient.
Is Rolling or Spraying Better for Painting a Colorbond Fence?
Spraying delivers a smoother finish, while rolling is easier for beginners and still produces excellent results when done correctly.
How Long Will Paint Last on a Colorbond Fence?
Typically between 5 and 10 years, depending on climate, paint quality, and ongoing maintenance.
A freshly painted Colorbond fence can completely transform your outdoor area, increase your property’s value, and give your home a modern, polished appearance. With proper preparation, the right tools, and quality paint, the process is straightforward and highly rewarding—even for first-time DIY painters.
As Aristotle wisely said, “Quality is not an act, it is a habit.” Invest time in proper preparation, and the results will speak for themselves.
Explore More Content and Services
