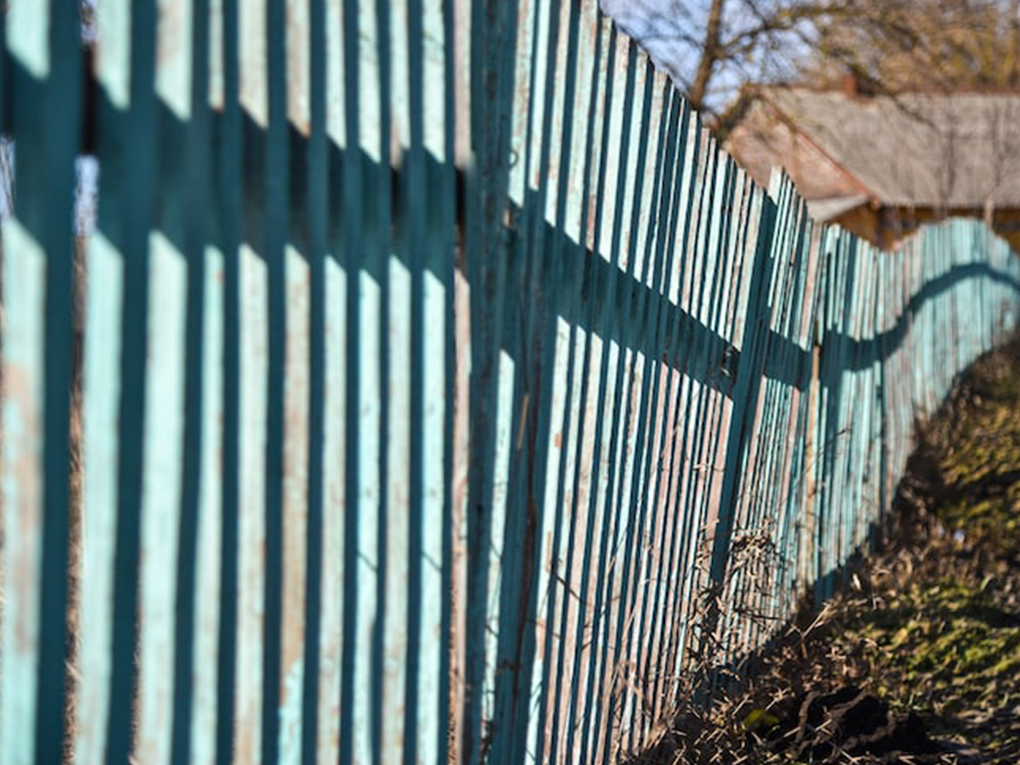
How to remove old fence paint?
There is nothing quite like the charm of a beautifully painted wooden fence to boost your property’s curb appeal. However, when that paint begins to crack, bubble, and peel, it quickly turns into an eyesore. Many homeowners dream of applying a fresh, vibrant coat of paint, but they dread the preparation phase. Specifically, figuring out how to remove old fence paint can feel like a daunting and exhausting chore.
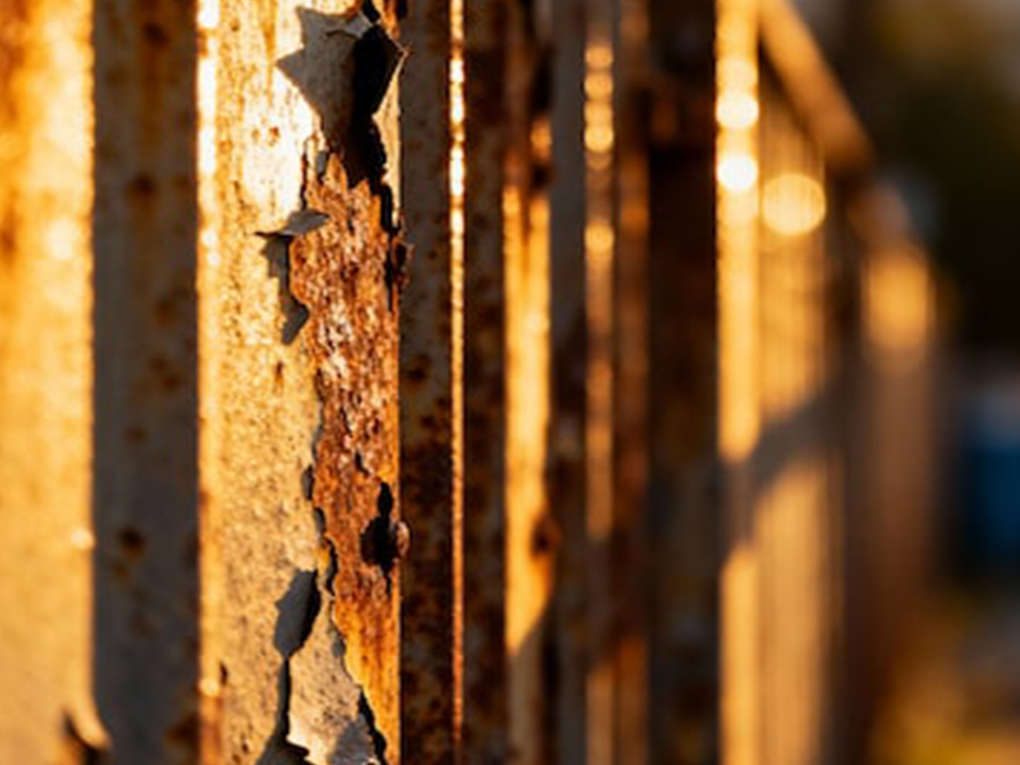
Why Removing Old Peeling Paint is Crucial
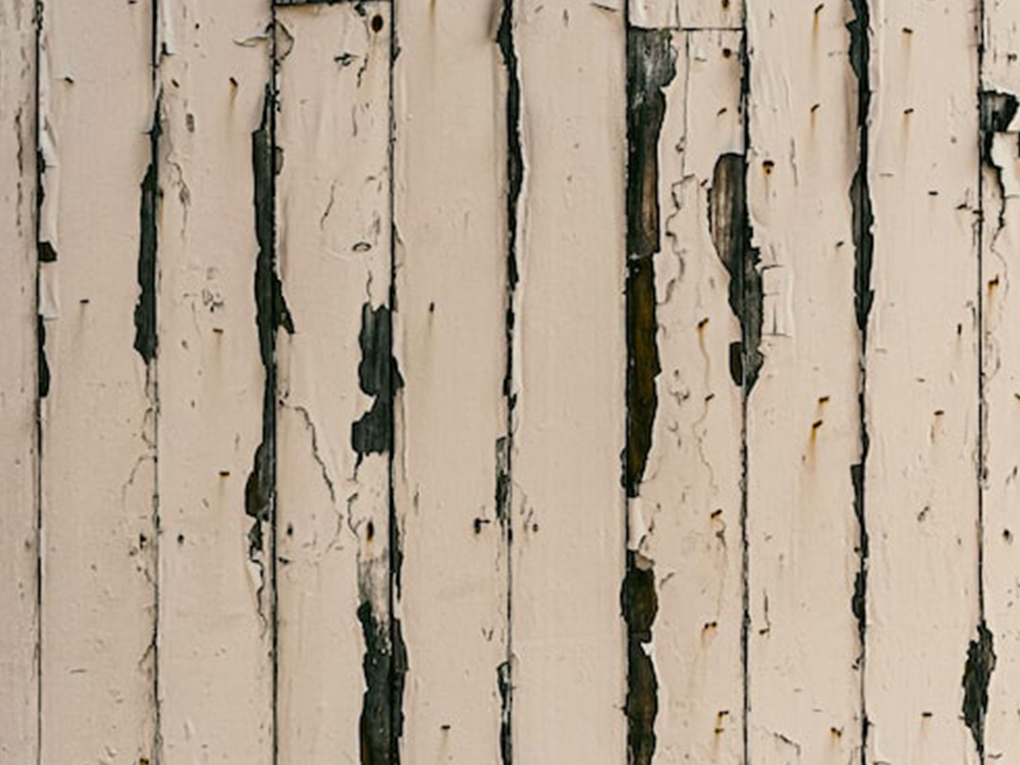
The longevity of any paint job relies heavily on adhesion. Paint needs a clean, solid, and slightly porous surface to grip onto properly. When you paint over a surface that is already peeling, the new paint is only holding onto the loose flakes beneath it, not the solid wood. The moment moisture or temperature changes cause the old paint to curl, your new layer will fall right off with it.
If you are planning a complete fence painting project, dedicating time to the preparation phase is non-negotiable. Stripping the old coating not only ensures a durable bond but also reveals the true condition of the wood underneath, allowing you to address any hidden rot or structural issues before you begin applying fresh color.
What Are You Working With?
Before you grab a scraper or rent a power washer, you need to evaluate the current state of your fence. First, determine the age of the paint. If your home or fence was painted before the late 1970s, there is a high risk that the old layers contain lead. If you suspect lead paint, do not scrape, sand, or power wash it yourself; you must hire certified professionals to handle the removal safely.
Next, check the condition of the timber. Press a screwdriver gently into various spots, especially near the bottom where the wood meets the soil. If the wood feels soft or spongy, you are dealing with rot. Paint will not adhere to rotten wood, so those specific panels or posts will need to be replaced rather than just stripped.
Essential Tools and Safety Gear You Will Need
Having the right tools makes a tedious job significantly easier. Depending on the method you choose, you will need to gather a combination of the following items:
- Safety Gear: Protective goggles, a high-quality dust mask or respirator, and heavy-duty work gloves.
- Manual Tools: A sharp carbide paint scraper, a stiff wire brush, and a putty knife.
- Power Tools: A pressure washer (with a wide-angle tip) and an orbital sander.
- Chemicals: A high-quality, eco-friendly chemical paint stripper.
- Site Protection: Heavy-duty canvas drop cloths and painter’s tape.
Proven Methods for Removing Old Fence Paint
There is no single “perfect” way to strip a fence. The best approach often involves combining a few different techniques depending on how stubborn the coating is.
Method 1: Power Washing (The Quickest Way)
Using a power washer is generally the fastest way to blast away loose, flaking chips. However, it requires a delicate touch. If you use too much pressure or hold the nozzle too close to the timber, you can easily gouge the wood, leaving permanent scars.
Always use a wide fan tip (usually 25 to 40 degrees) and keep the nozzle at least 12 to 18 inches away from the surface. Move in smooth, sweeping motions following the grain of the wood.
Method 2: Scraping and Sanding (For Stubborn Spots)
Once the power washing is done and the wood is completely dry, you will likely find stubborn patches that refuse to let go. This is where manual labor comes in. Use a sharp paint scraper to peel off remaining flakes. Always pull the scraper in the direction of the wood grain to avoid scratching the timber.
Follow up with an orbital sander using medium-grit sandpaper (around 80-grit) to smooth out the edges where the old paint meets the bare wood. This technique is called “feathering” and is crucial for a seamless final look.
Method 3: Chemical Paint Strippers (For Thick Layers)
If your fence has multiple thick layers of stubborn oil-based paint, mechanical scraping might take forever. A chemical paint stripper can save the day. Apply a thick layer of the stripper with a disposable brush, let it sit for the manufacturer’s recommended time until the paint begins to bubble and wrinkle, and then easily scrape the sludge away. Always work in small sections and wear thick, chemical-resistant gloves.
Method 4: Heat Guns (Use with Extreme Caution)
A heat gun softens old paint, allowing it to be scraped off effortlessly. While effective, this method is highly tedious for a large fence and comes with a severe fire hazard. If you hold the gun in one spot for too long, the dry timber can easily scorch or catch fire. Keep the heat gun moving constantly and keep a fire extinguisher nearby.
Step-by-Step Process for Safe Paint Removal
- Protect the Area: Start by laying down heavy drop cloths along the base of the fence to catch falling paint chips, dust, and chemical runoff.
- Remove Loose Debris: Take a stiff wire brush to the surface to knock off the easiest, most heavily peeling flakes.
- Apply Your Primary Method: Whether you choose pressure washing or chemical stripping, work systematically from the top of the fence panels down to the bottom.
- Detail Work: Go back over the fence with your manual scraper and sander to smooth out the transition lines between bare wood and any remaining, tightly bonded paint.
- Clean and Dry: Once all the unwanted material is gone, give the fence a final, gentle wash to remove dust and chemical residue. Let it dry for at least 48 hours.
Navigating Tricky Areas and Post-Removal Care
Fences are not just flat panels; they have intricate joints, caps, and posts that require extra attention. Learning exactly how to paint fence posts flawlessly requires stripping away the buildup that accumulates in the tight corners where the horizontal rails meet the vertical supports. A smaller, triangular scraper is invaluable for these tight spaces.
Furthermore, you must be mindful of your landscaping. A very common concern is figuring out how to paint a fence without getting it on grass or ruining flower beds. This exact same caution applies during the removal stage. Use plastic sheeting to cover delicate plants, as chemical strippers and heavy paint dust can severely damage your garden.
Once the timber is finally bare, it might look a little beaten up from the years of sun exposure and the removal process itself. If you are struggling with how to paint an old weathered fence, the secret lies in conditioning the wood.
You must apply a high-quality exterior wood primer to seal the porous surface. Taking the time to learn how to prep a fence before painting guarantees that your expensive new topcoat will go on smoothly, look vibrant, and resist peeling for years to come.
Frequently Asked Questions (FAQs)
Do I need to remove every single speck of old paint?
No, you do not need to take the entire fence down to bare wood. You only need to remove the paint that is loose, flaking, or bridging. If a patch of paint is firmly bonded to the wood and cannot be easily scraped off, you can leave it. Just be sure to sand the edges smooth so the transition is invisible under the new coat.
Can I use a wire brush attachment on a drill?
Yes, a wire brush attachment can speed up the process, but you must be incredibly careful. High-speed wire brushes can easily dig deep into softwood timber like pine or cedar, leaving permanent, ugly circular grooves in the wood.
How long should I let my fence dry after pressure washing it?
Wood is highly porous and absorbs a massive amount of water during pressure washing. You should wait a minimum of 48 to 72 hours in warm, dry, sunny weather before applying any primer or paint. Painting over damp wood will trap moisture, causing immediate bubbling.
What is the best weather for removing fence paint?
Overcast, dry days with moderate temperatures are ideal. If it is too hot, chemical strippers will dry out and stop working before you can scrape them off. If it is windy, dust and chemical fumes will blow back into your face.
How do I dispose of old paint chips?
Sweep up all the chips from your drop cloths. If the paint is standard acrylic or latex, it can usually be bagged and placed in normal household trash. If it is lead-based or oil-based, you must take it to a local hazardous waste disposal facility.
Learning how to remove old fence paint requires patience, elbow grease, and the right combination of tools. While it may be the least glamorous part of outdoor home maintenance, stripping away those failing layers is the only way to guarantee a flawless, long-lasting finish.
By carefully assessing your timber, protecting your landscaping, and taking the time to sand the surface smooth, you are setting the perfect foundation for your new topcoat.
If you are feeling overwhelmed by the sheer scale of the project, do not hesitate to reach out to professional painters who have the heavy-duty equipment to get the job done quickly and safely. Grab your scraper, prep your tools, and get ready to bring your tired, weathered fence back to life!
- Address: 71 Rochester Road, Balwyn, VIC 3103
- Hotline: 0401 851 598
- Email: pm@vcolour.com.au
- Website: www.vicpainter.com
- Facebook: facebook.com/fencepaintingmelbourne/
- Instagram: instagram.com/wallrepair.melbourne/