How to prep a fence before painting?
Revamping your outdoor space often starts with the boundaries. A freshly painted timber or metal boundary line instantly elevates your home’s curb appeal, protects the material from harsh weather conditions, and adds significant value to your property. However, achieving that picture-perfect result requires much more than simply opening a tin of paint and grabbing a brush. If you are wondering how to prep a fence before painting, you have come to the right place.
Proper preparation is the foundational step that separates a fast-fading, peeling nightmare from a durable, professional-grade finish. In this comprehensive guide, we will walk you through the essential steps to get your surface perfectly ready for its new coat.
Why Preparation is the Secret to a Flawless Finish
Many homeowners underestimate the importance of the preparatory phase. Wood and metal are constantly exposed to the elements—blistering sun, heavy rain, dirt, and organic growth like algae or mildew. Applying fresh paint directly over these contaminants guarantees poor adhesion.
Investing time in thorough preparation ensures that your chosen coating bonds securely to the surface material. This maximizes the lifespan of your paint job, preventing premature flaking, blistering, and cracking.
Ultimately, understanding the right techniques for a professional fence painting project saves you immense time, money, and frustration in the long run.
Essential Tools and Materials You Will Need
Before you begin, gather all the necessary supplies. Having everything within reach makes the process much smoother and more efficient.
- Safety Gear: Safety glasses, work gloves, and a dust mask.
- Cleaning Supplies: A stiff bristle brush, a bucket, mild detergent, and a pressure washer (optional but recommended).
- Repair Tools: Exterior wood filler, a putty knife, a hammer, exterior-grade nails or screws, and replacement palings if necessary.
- Surface Prep Tools: A paint scraper, medium-grit and fine-grit sandpaper, or a power sander.
- Protection: Drop cloths, plastic sheeting, and painter’s tape.
- Primer: A high-quality exterior primer suited for your specific surface material.
Step 1: Inspect the Structure and Repair Damages
You cannot build a beautiful finish on a broken foundation. Before doing anything else, walk the entire length of your perimeter and conduct a thorough inspection.
Check for Rot and Pest Damage
Look closely at the bottom of the posts and the lower edges of the panels where moisture tends to accumulate. Probe any soft or discolored spots with a screwdriver.
If the wood crumbles easily, you are dealing with rot. You must replace these damaged sections completely. Applying paint over rotting timber will not stop the decay; it will simply hide the problem until the structure inevitably fails.
Secure Loose Boards and Nails
Over time, fluctuating temperatures cause timber to expand and contract, which can slowly push nails out. Hammer any protruding nails back into place or replace them with galvanized exterior screws for a more secure hold.
Fill any resulting holes, deep gouges, or cracks with a durable exterior wood filler. Allow the filler to dry completely according to the manufacturer’s instructions before moving on.
Step 2: Clear and Protect the Surrounding Area
Painting can be a messy endeavor, and the preparation process generates a significant amount of dirt, dust, and chemical runoff.
Start by trimming back any overgrown bushes, tree branches, or climbing vines that rest against the timber. You need at least two feet of clearance to work comfortably.
Next, lay down heavy-duty canvas drop cloths to protect your grass, garden beds, and hardscaping from old paint chips, cleaning solutions, and primer drips. Use painter’s tape to mask off any hardware, hinges, or decorative elements that you do not intend to paint.
Step 3: Clean the Fence Thoroughly
A clean surface is absolutely non-negotiable. Dirt, cobwebs, bird droppings, and loose chalky residues will ruin your new finish.
The Power Washing Approach
Using a pressure washer is the most efficient way to blast away years of accumulated grime. Keep the nozzle moving continuously to avoid gouging the timber, and maintain a safe distance of about 12 to 18 inches.
If you do not own a pressure washer, a standard garden hose equipped with a high-pressure nozzle and a stiff bristle brush will get the job done, though it requires more elbow grease.
Dealing with Mold and Mildew
If you notice black or green patches, you must kill the biological growth before painting. Use a specialized exterior house cleaner or a mixture of one part bleach to three parts water.
Apply the solution with a pump sprayer, let it sit for 15 minutes, scrub the heavily affected areas, and rinse thoroughly.
A common question during this phase is how long does it take to paint a fence, and the reality is that drying time dictates your schedule.
After washing, you must allow the timber to dry completely-usually 24 to 48 hours depending on the weather-before proceeding.
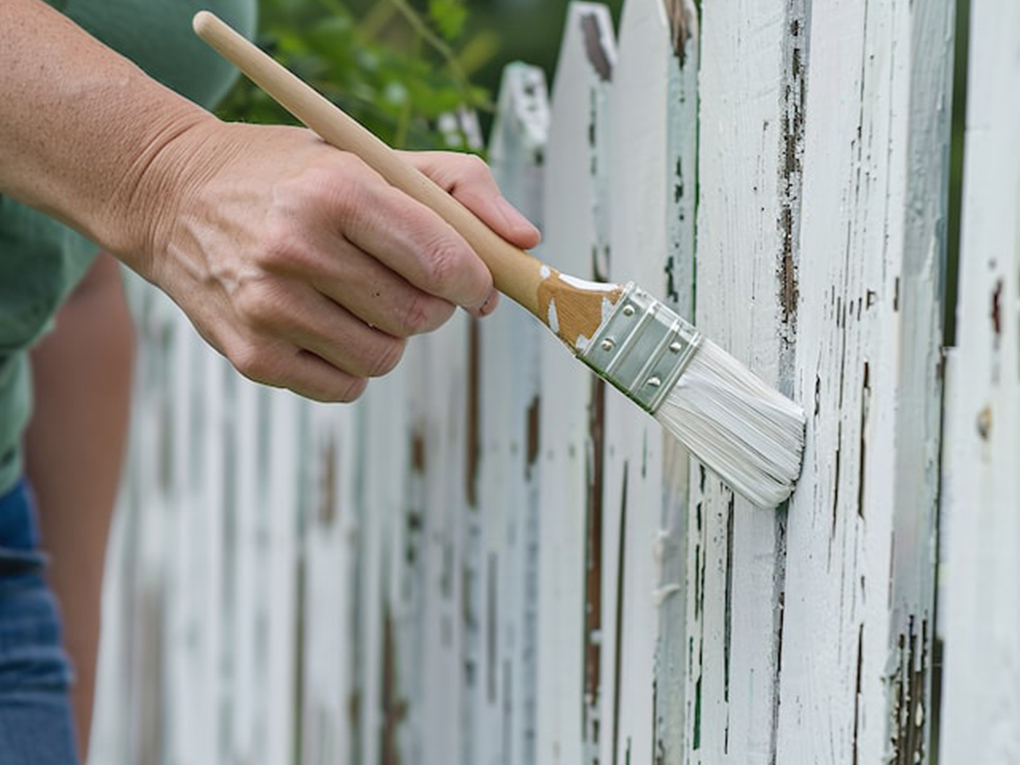
Step 4: Scrape, Sand, and Smooth the Surface
Once the surface is bone-dry, it is time to tackle any remaining imperfections. Grab your paint scraper and remove any loose, flaking, or blistering old paint. You do not need to strip the timber bare, but you must remove anything that isn’t firmly adhered.
Follow up with sanding. Use medium-grit sandpaper (around 80-grit) to smooth out the edges where old paint meets bare wood, ensuring a seamless transition. Lightly scuffing the entire surface also opens up the “pores” of previous glossy finishes, giving your new primer something rough to grab onto. Wipe the whole area down with a tack cloth or a slightly damp rag to remove all the sanding dust.
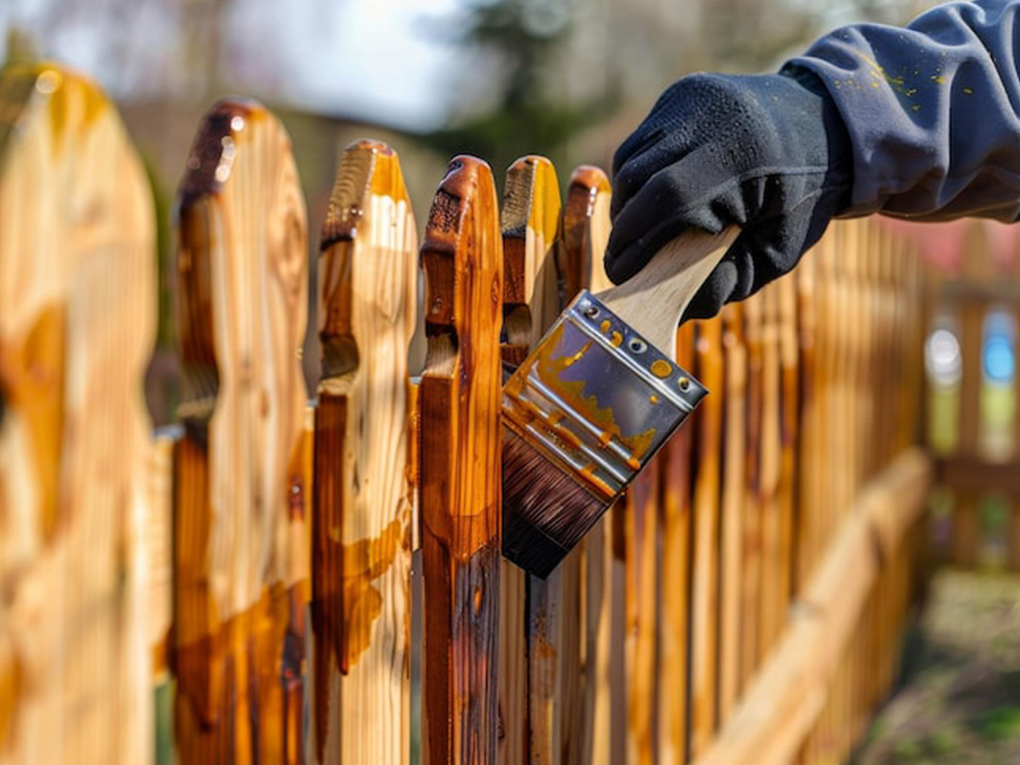
Step 5: Apply a High-Quality Primer
Skipping the primer is a mistake you will regret. Primer acts as a crucial binder. It seals porous bare wood, blocks tannins (natural oils in the timber that cause yellowish stains to bleed through topcoats), and provides a uniform, adhesive base for your final color.
Apply an even coat of exterior primer using a thick-nap roller or a wide brush. Work it deep into the grain and the crevices between the palings. Allow the primer to cure completely according to the tin’s directions.
Choosing Your Application Method for the Final Coat
With the preparation perfectly executed, you are finally ready for the fun part: applying the color. If you are planning to handle the application yourself, reviewing exactly how to paint a fence step by step will ensure your topcoats look smooth and professional.
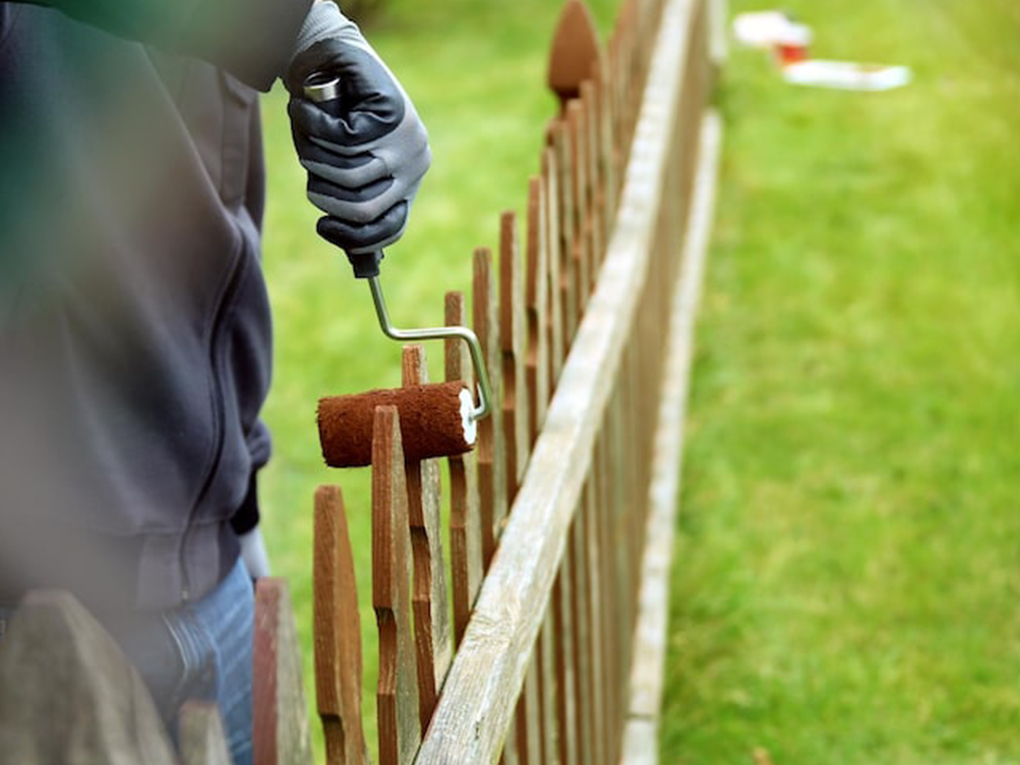
Your choice of tools will dramatically affect your workflow. For standard residential jobs, many homeowners master how to paint a fence with a roller because it offers excellent coverage, drives the product into the timber grain, and minimizes messy overspray.
Alternatively, if you have a massive property line or intricate lattice work, learning how to paint a fence with a sprayer can cut your application time in half, delivering a flawless, factory-like finish. Whichever method you choose, apply two coats of premium exterior acrylic for maximum longevity.
Frequently Asked Questions (FAQs)
Do I absolutely need to wash my fence before painting?
Yes. Painting over dirt, algae, or chalky residue prevents the new paint from bonding properly. It will inevitably peel or flake off much faster than it should.
Can I paint over old, peeling paint?
No. Any loose or flaking paint must be scraped and sanded away. If you paint over peeling spots, the new coat will simply fall off alongside the old one.
How long should a fence dry after power washing?
You should wait at least 24 to 48 hours of warm, dry weather. Painting over damp wood traps moisture, which leads to blistering and rot.
What is the best primer for an outdoor timber fence?
An oil-based primer or a high-quality, stain-blocking acrylic exterior primer is ideal. These are specifically formulated to block moisture and seal wood tannins.
Should I sand the entire fence before painting?
While you don’t need to sand the structure down to bare wood, giving the entire surface a light scuff-sand helps dull old glossy finishes and creates a better profile for the new primer to adhere to.
Learning how to prep a fence before painting requires patience, effort, and an eye for detail. By taking the time to inspect, clean, repair, and prime the surface properly, you guarantee that your final coats of paint will look vibrant, smooth, and professional for years to come. Do not rush the process; the durability of your hard work relies entirely on the foundation you build today.
However, if scrubbing, scraping, and sanding sounds like a larger weekend project than you anticipated, you do not have to tackle it alone. Reach out to a professional painting service to handle the heavy lifting, ensuring your outdoor living space looks absolute best without the hassle!
- Address: 71 Rochester Road, Balwyn, VIC 3103
- Hotline: 0401 851 598
- Email: pm@vcolour.com.au
- Website: www.vicpainter.com
- Facebook: facebook.com/fencepaintingmelbourne/
- Instagram: instagram.com/wallrepair.melbourne/