Choosing the Best Brush for Painting Fence Panels
Revitalising your property’s boundary lines is one of the most satisfying outdoor home improvement projects you can undertake. A fresh coat of colour not only boosts your home’s street appeal but also protects the timber from harsh weather conditions, rot, and UV damage. However, achieving a professional, long-lasting finish relies heavily on the tools you select. If you are preparing to tackle this task, you are likely wondering what the best brush for painting fence panels actually is.
Using substandard tools will inevitably lead to frustrating streaks, shedding bristles stuck in your drying finish, and hours of unnecessary physical exertion. In this comprehensive guide, we will evaluate the top tool options, explore optimal application techniques, and help you determine the most efficient approach to transforming your outdoor space.
Why Selecting the Right Application Tool Matters
Fences, especially those made from rough-sawn timber, present a unique challenge. Unlike smooth interior plasterboard, outdoor timber is highly textured, porous, and full of intricate grooves. Consequently, the tool you choose must be durable enough to withstand dragging across abrasive surfaces while holding enough product to provide adequate coverage.
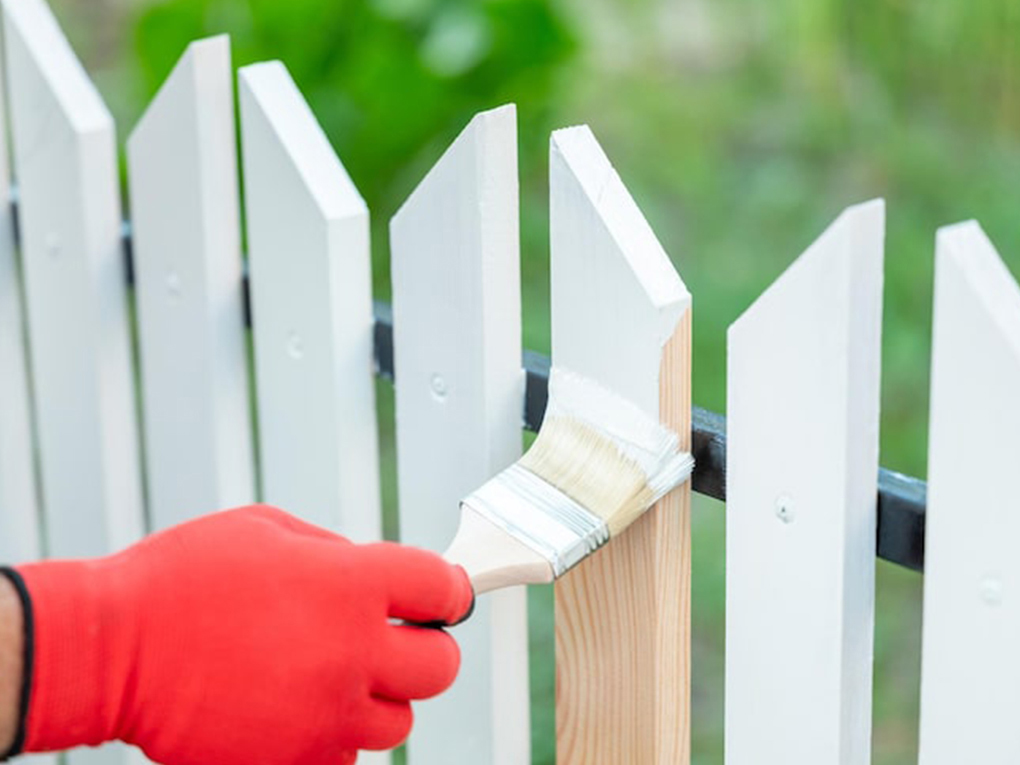
Tackling a fence painting project on the weekend can instantly elevate your property’s aesthetic, but preparation is key. A high-quality brush will hold more liquid, distribute it evenly, and cut down your working time significantly. Furthermore, a premium brush allows you to push the protective coating deep into the grain of the timber, sealing it effectively against moisture.
Key Considerations for Finding the Best Brush for Painting Fence Panels
When you visit the hardware store, the sheer volume of options can feel overwhelming. To narrow down your choices and find the best brush for painting fence panels, you must consider the type of coating you are applying and the specific profile of your timber palings.
Synthetic vs. Natural Bristles
The most critical factor in your decision is the bristle material, which should be dictated entirely by the type of product you plan to apply.
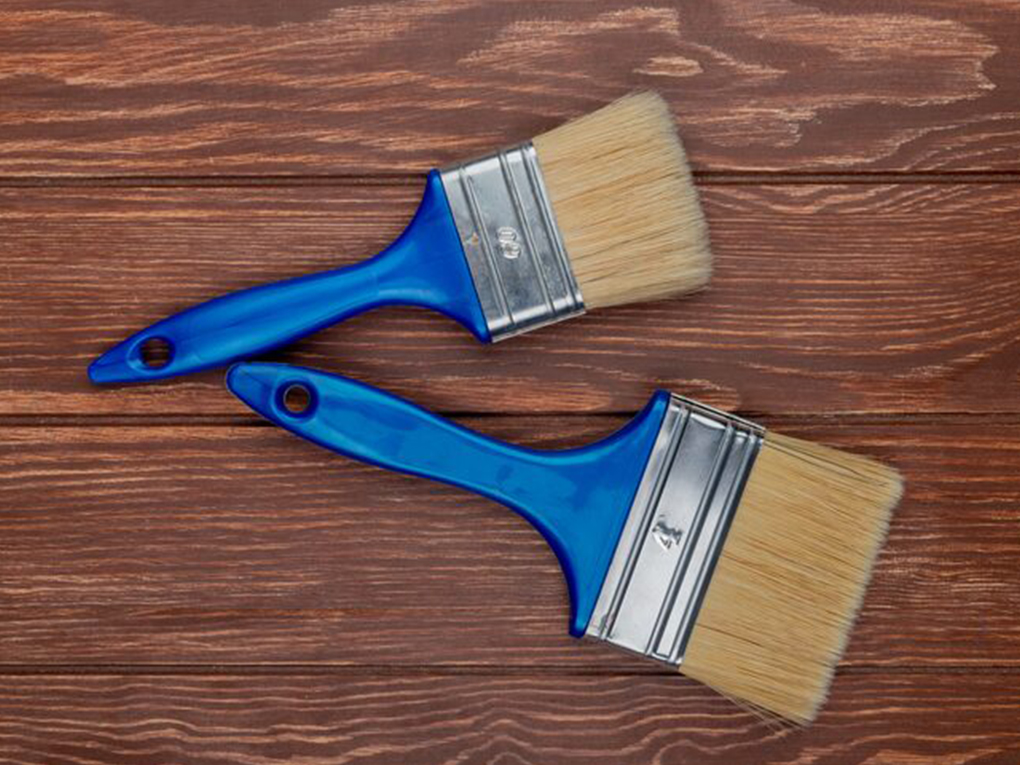
- Synthetic Bristles (Nylon and Polyester): These are the undisputed champions for water-based acrylic paints and stains. Synthetic bristles maintain their stiffness and shape even when exposed to water. Nylon provides excellent durability, while polyester helps the tool retain its shape in hot weather. If you are using a modern, water-based exterior acrylic, a high-density synthetic blend is your best option.
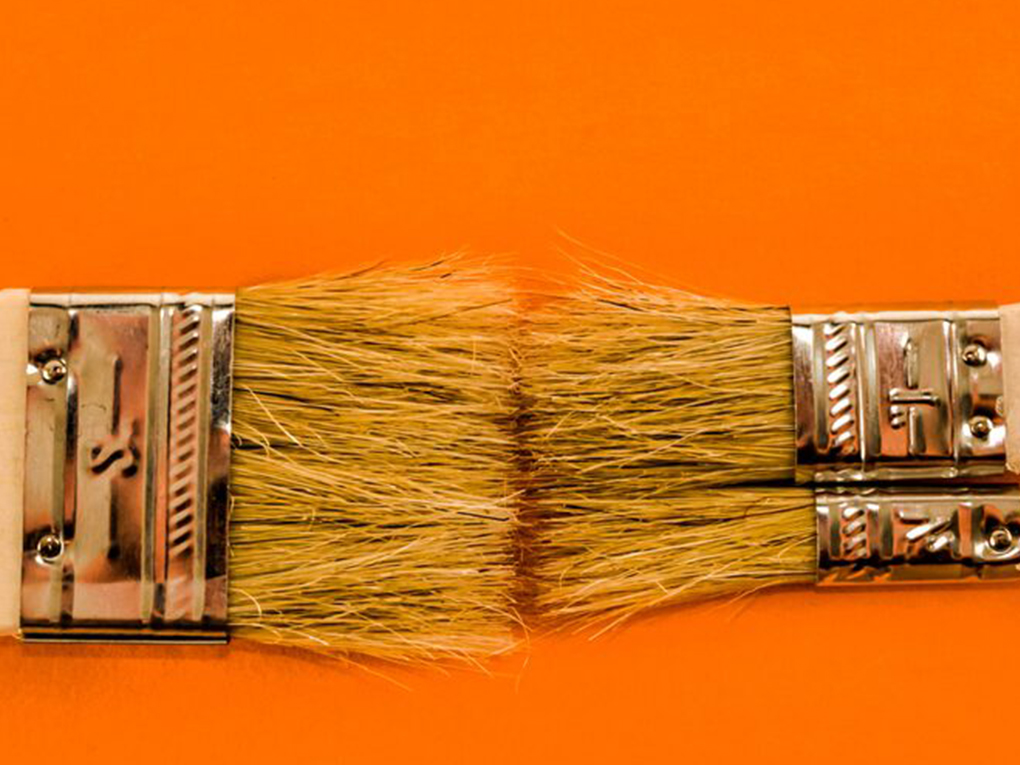
- Natural Bristles (Animal Hair): If your project requires oil-based stains, varnishes, or solvent-based paints, natural bristles are superior. They feature microscopic split ends (flags) that hold significantly more oil-based product, releasing it smoothly onto the timber. However, you must never use natural bristles with water-based formulas, as they will absorb the water, swell up, and become entirely useless.
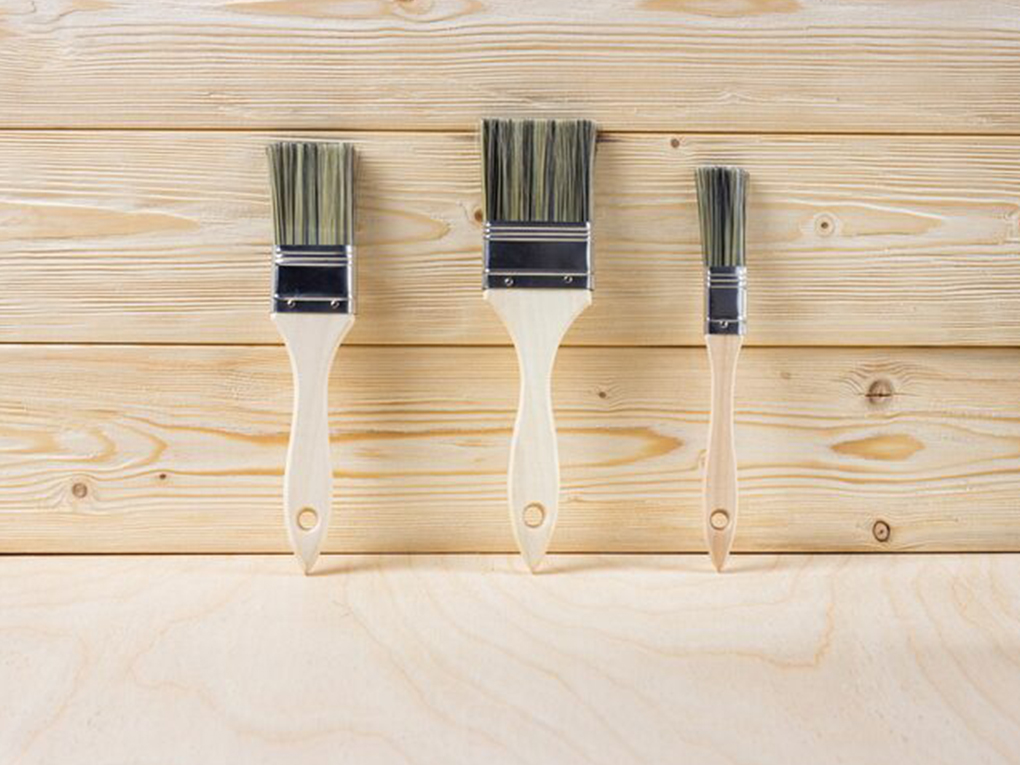
Selecting the Ideal Brush Size and Shape
Size translates directly to speed. For wide, flat panels, you need a tool that covers maximum surface area with every stroke.
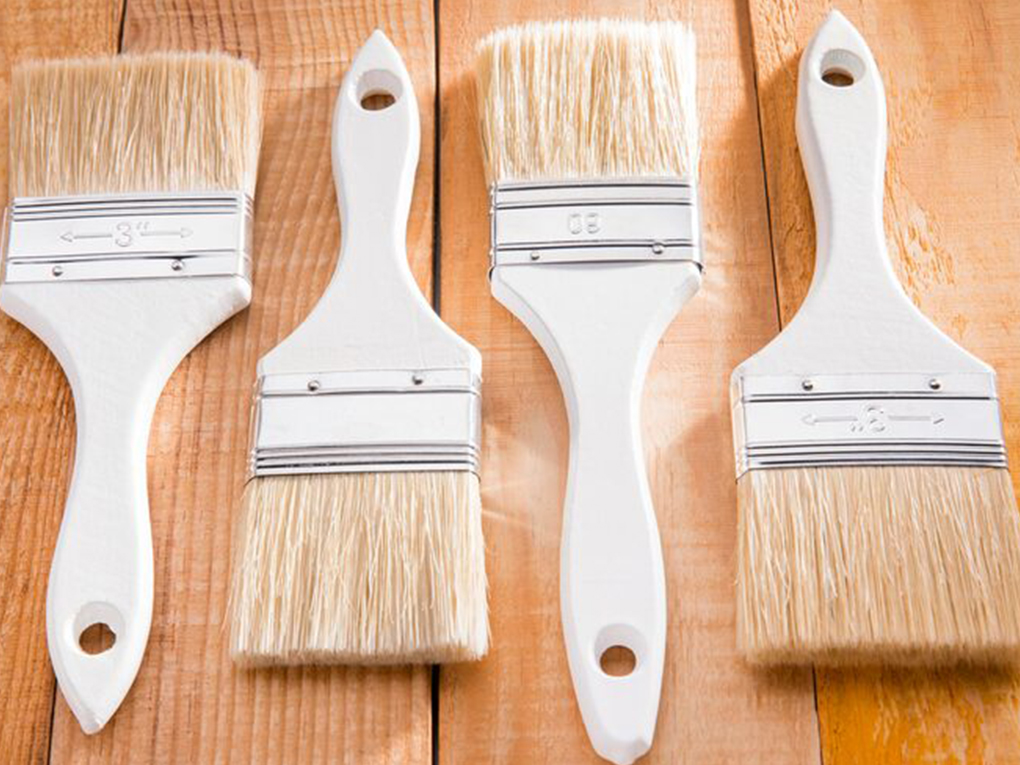
- Block Brushes (4 to 6 Inches): Also known as masonry or timber stain brushes, these wide, thick tools hold a massive amount of liquid. They are specifically designed for rough surfaces and large exterior areas. For sheer efficiency on standard palings, a 4-inch or 5-inch block brush is highly recommended.
- Angled Sash Brushes (2 to 3 Inches): You cannot paint a boundary line with a block brush alone. You will need a smaller, angled brush to cut in around posts, rails, hinges, and the tight gaps between overlapping panels. An angled tip gives you the precision required to avoid dripping colour onto your concrete pathways or landscaping.
Essential Techniques for a Professional Timber Finish
Even the highest quality equipment requires the correct technique. To maximise your efficiency and achieve a flawless result, keep these practical tips in mind:
- Preparation is Non-Negotiable: Never apply coatings to dirty or rotting timber. Power wash the surface to remove dirt, algae, and loose debris. Allow the timber to dry completely before applying any product.
- Load Correctly: Dip only the bottom third of the bristles into the tin. Slapping the brush directly against the side of the tin removes too much product; instead, tap it gently to shake off the excess.
- Follow the Grain: Always apply your strokes in the direction of the timber grain. This ensures the product penetrates the pores effectively.
- Maintain a Wet Edge: To avoid lap marks and overlapping streaks, always work back into the wet edge of your previous section. Complete one full paling at a time before moving to the next.
Exploring Alternative Tools: Rollers and Sprayers
While brushing provides the best penetration for textured timber, it is undeniably labour-intensive. You might want to consider combining your primary tool with faster application methods.
Using a thick-nap roller (15mm to 20mm) allows you to spread the material across the palings rapidly. However, a roller alone will not push the liquid into the grain or reach into tight corners. A popular method is to have one person roll the product onto the surface while a second person follows immediately behind with a block brush to “lay off” the finish, smoothing out drips and working it into the timber.
Alternatively, for those managing expansive acreages or incredibly long boundaries, upgrading to the best paint sprayer for fence might be vastly more efficient than traditional hand application. Sprayers deliver rapid, even coverage, though they do require meticulous masking of surrounding areas to prevent overspray. Even when spraying, it is wise to keep a brush handy to back-brush the product into the deeper timber grooves.
Budgeting Your Boundary Project: Tools vs. Professional Help
Understanding the financial scope of your weekend task helps you make informed purchasing decisions. Rather than simply guessing how many tins you need, taking exact measurements of your perimeter is vital. When budgeting materials, it helps to calculate the fence painting cost per linear foot to ensure you purchase the right amount of primer, topcoat, and appropriate applicators.
Many homeowners start with enthusiasm, only to realise the sheer amount of physical labour involved. Reviewing a comprehensive DIY fence painting cost breakdown will help you decide if purchasing premium applicators and investing your weekend hours is worth the overall return for your specific scenario.
If the physical labour seems overwhelming, or if your perimeter is exceptionally large, comparing your tool and material expenses against the cost to hire someone to paint a fence is a smart next step. Professional teams already own commercial-grade sprayers and premium equipment, often completing in a single day what might take a homeowner several weekends to finish.
Frequently Asked Questions (FAQs)
Do I need to prime my fence before painting?
Yes, priming is highly recommended, especially for bare, unpainted timber. Primer seals the porous surface, prevents tannins from bleeding through the topcoat, and provides a strong base for your final colour to adhere to.
Can I use an indoor brush for outdoor panels?
While you technically can, it is not advisable. Indoor tools are generally designed for smooth surfaces like drywall and skirting boards. Rough exterior timber will quickly destroy delicate indoor bristles. Always opt for a heavy-duty exterior or masonry brush.
How do I clean and maintain my exterior brushes?
If you used a water-based product, wash the bristles thoroughly with warm soapy water until the water runs completely clear. For oil-based stains, you must use mineral turpentine or a dedicated solvent. Always hang them upside down to dry to maintain the bristle shape.
Is it better to paint or stain an older timber fence?
Stains penetrate the timber and enhance the natural grain, but they require more frequent reapplication. Solid acrylic paints sit on top of the surface, offering superior UV protection and durability. For older, heavily weathered timber, a solid colour often hides imperfections better than a translucent stain.
How long does a painted boundary fence last?
When applied correctly using high-quality materials and tools, a solid acrylic finish can last between 5 and 8 years before requiring a fresh coat. Routine washing and maintenance will extend its lifespan significantly.
Securing the best brush for painting fence panels is the foundational step to ensuring your outdoor renovation is efficient, effective, and visually stunning. By choosing the correct bristle type for your product—synthetic for water-based, natural for oil-based—and opting for a wide block design, you will save yourself hours of tedious labour.
Whether you decide to tackle the project yourself or hire experienced professionals to handle the heavy lifting, protecting your timber boundary is an investment that yields immediate visual rewards. Evaluate your property line, gather your supplies, and take the first step toward revitalising your home’s exterior today!
- Address: 71 Rochester Road, Balwyn, VIC 3103
- Hotline: 0401 851 598
- Email: pm@vcolour.com.au
- Website: www.vicpainter.com
- Facebook: facebook.com/fencepaintingmelbourne/
- Instagram: instagram.com/wallrepair.melbourne/