The ultimate guide on how to paint fence posts like a pro
Your backyard is your personal sanctuary, and the perimeter surrounding it plays a massive role in the property’s overall aesthetic appeal. Over time, constant exposure to harsh weather, intense UV rays, and ground moisture can leave your outdoor timber looking drab, gray, and uninviting.
While many homeowners focus their energy solely on the broad panels, giving equal attention to the structural upright elements is absolutely critical for a cohesive look. Learning exactly how to paint fence posts correctly will completely revitalize your property’s boundary, significantly boost your curb appeal, and drastically extend the lifespan of the wood.
Why Properly Painting Your Fence Posts is a Smart Investment
Fence posts bear the brunt of structural stress and are usually driven directly into the ground, making them highly susceptible to rot, insect damage, and moisture absorption. Consequently, applying a robust layer of protective paint does much more than just improve the visual aesthetic.
A high-quality exterior paint acts as a formidable barrier against the elements. It seals the porous timber, preventing water from seeping into the grain and causing premature decay. Furthermore, completing a full, thorough coat of paint ties the entire structure together visually.
If you plan on selling your home in the near future, crisp, beautifully painted boundary lines signal to potential buyers that the property has been meticulously maintained. Comprehensive fence painting is a highly cost-effective way to elevate your home’s exterior without undertaking a massive landscaping renovation.
Essential Tools and Materials You Will Need
Before you crack open a single tin of paint, you must gather all the necessary supplies. Having the right tools on hand prevents frustrating interruptions and ensures a smooth workflow. Here is a checklist of the essentials you will need for this project:
- Stiff Bristle Brush and Scraper: Essential for removing dirt, grime, and flaking debris.
- Sandpaper or Sanding Block: Medium-grit (around 80-120) works best for smoothing out rough timber.
- Exterior Primer: Choose an acrylic or oil-based primer specifically formulated for outdoor wood.
- High-Quality Exterior Paint: Opt for a premium, weather-resistant acrylic latex paint that offers UV protection.
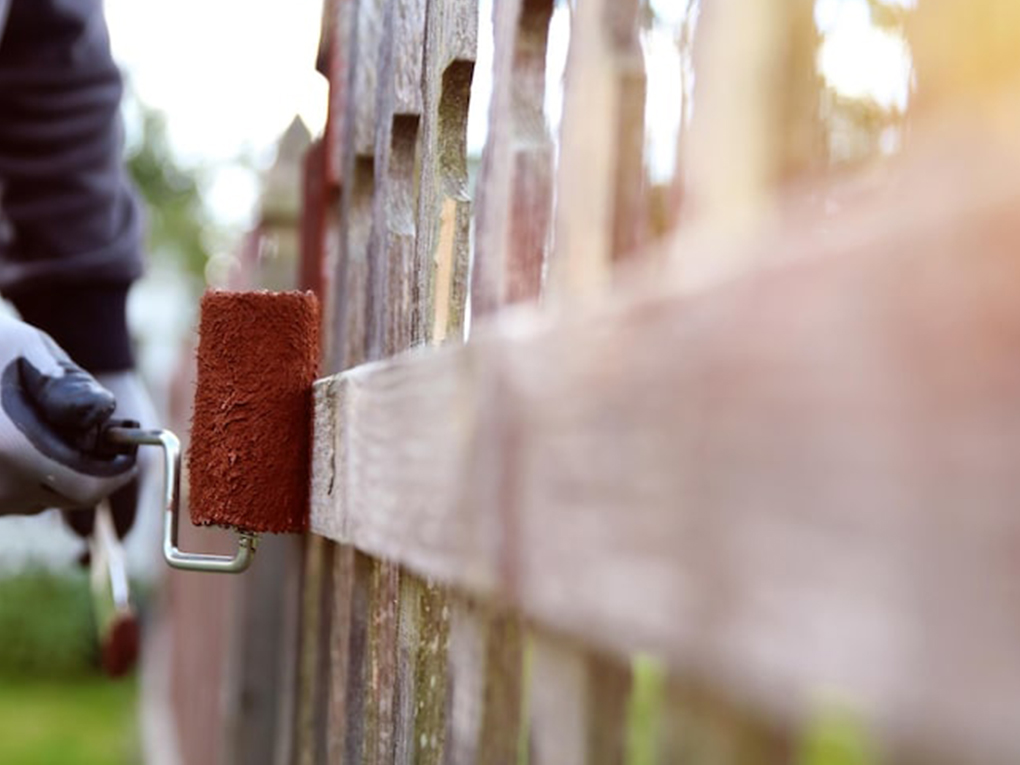
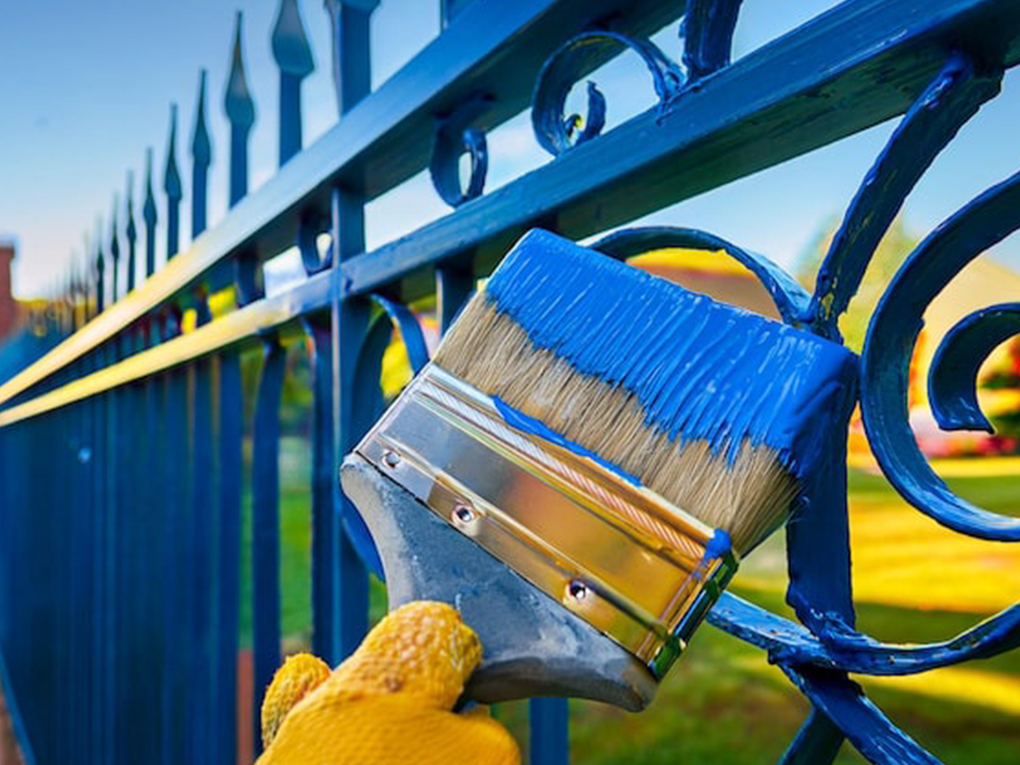
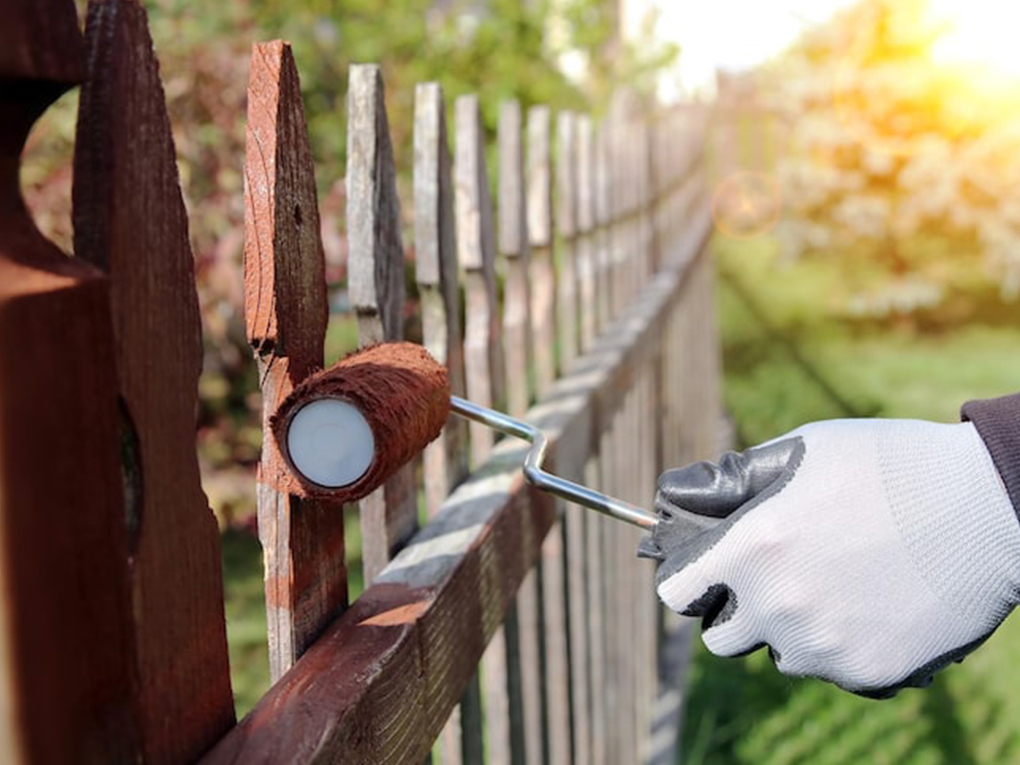
- Painting Tools: A 2-inch angled synthetic brush is perfect for posts. You may also want a mini-roller for flatter sides.
- Drop Cloths or Cardboard: Crucial for protecting your landscaping and paving from drips.
- Painter’s Tape: Useful for protecting attached hardware or brackets.
The Secret to a Long-Lasting Finish
Ask any professional decorator, and they will tell you that the secret to a flawless finish lies entirely in the prep work. Skipping steps here guarantees that your new coat will peel, blister, or flake within a few months. Understanding exactly how to prep a fence before painting ensures your new color will adhere properly and withstand the test of time.
Start by inspecting each post closely. Look for signs of severe rot or structural weakness. If a post is completely compromised, you must replace it before proceeding. Next, thoroughly wash the wood. You can use a mild detergent mixed with water or a specialized wood cleaner.
Scrub the surface with a stiff brush to remove mold, algae, and embedded dirt. Once clean, allow the wood to dry completely-this usually takes at least 24 to 48 hours of clear weather.
If you are dealing with timber that has suffered years of neglect, you must take extra precautions. Knowing how to paint an old weathered fence requires slightly different techniques, such as applying a wood hardener to spongy areas and utilizing a heavy-duty bonding primer to ensure the topcoat actually sticks to the degraded surface.
Step-by-Step Instructions
Once the wood is clean, dry, and structurally sound, the fun part begins. Follow these sequential steps to achieve a professional-grade finish.
Step 1: Cleaning and Sanding the Surface
After washing and drying, grab your sandpaper. Give the entire post a rigorous sanding. This step removes raised wood fibers and creates a slightly textured profile, which gives the primer something to grip onto. Once sanded, use a tack cloth or a damp rag to wipe away all the lingering sawdust.
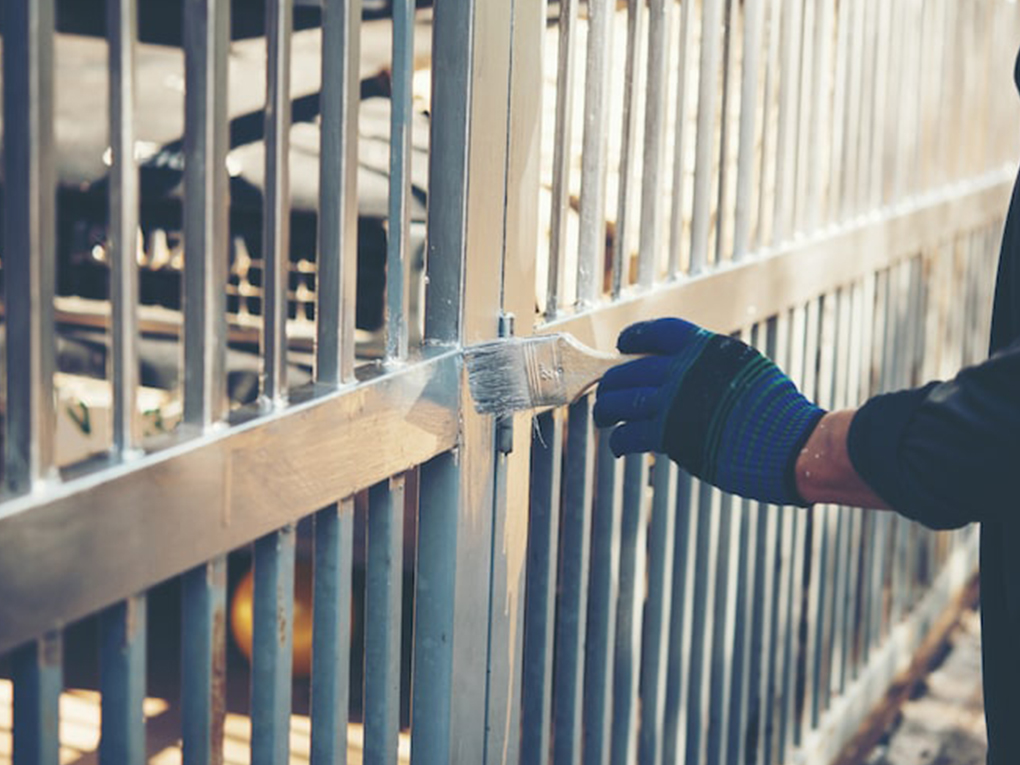
Step 2: Applying a High-Quality Primer
Never skip the primer on bare wood or severely weathered posts. Primer seals the porous surface, blocks natural tannins from bleeding through and discoloring your final color, and provides an anchor for the paint.
Use your angled brush to work the primer deeply into the grain, paying special attention to the end-grain at the very top of the post, as this area absorbs the most water. Let the primer dry completely according to the manufacturer’s instructions.
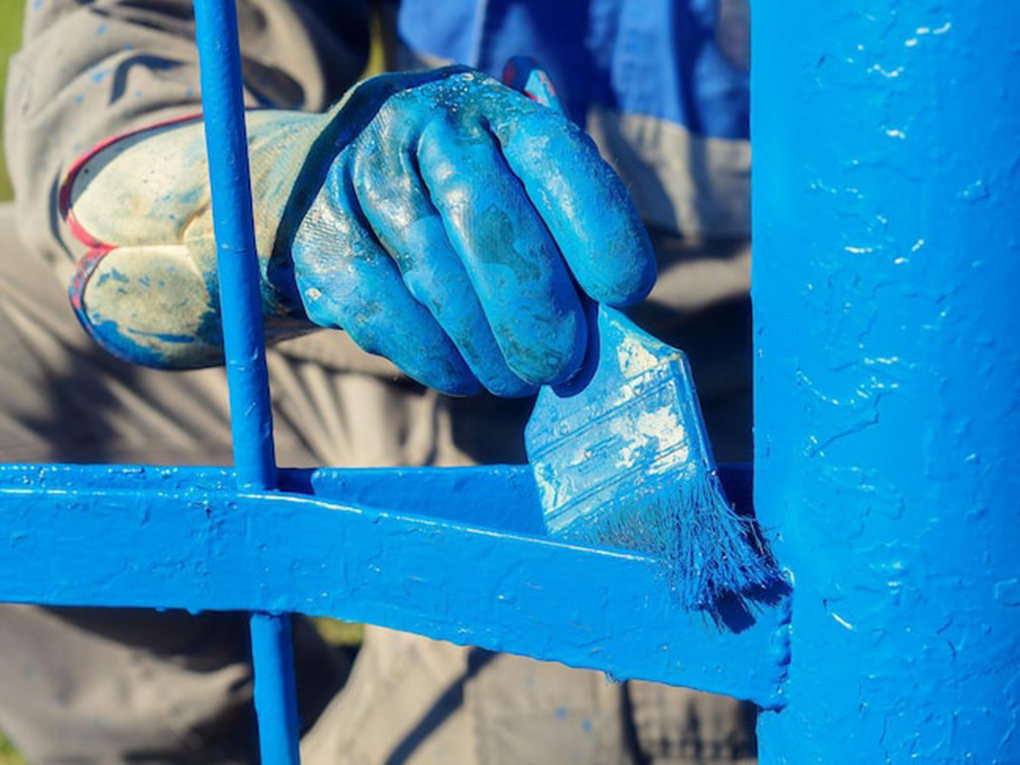
Step 3: Executing the Painting Process
Now it is time to apply your topcoat. Stir the exterior paint thoroughly. Dip your brush about a third of the way into the tin, tapping it gently on the side to remove excess. Start at the top of the post and work your way down, brushing in the direction of the wood grain. Keep a “wet edge” to prevent lap marks.
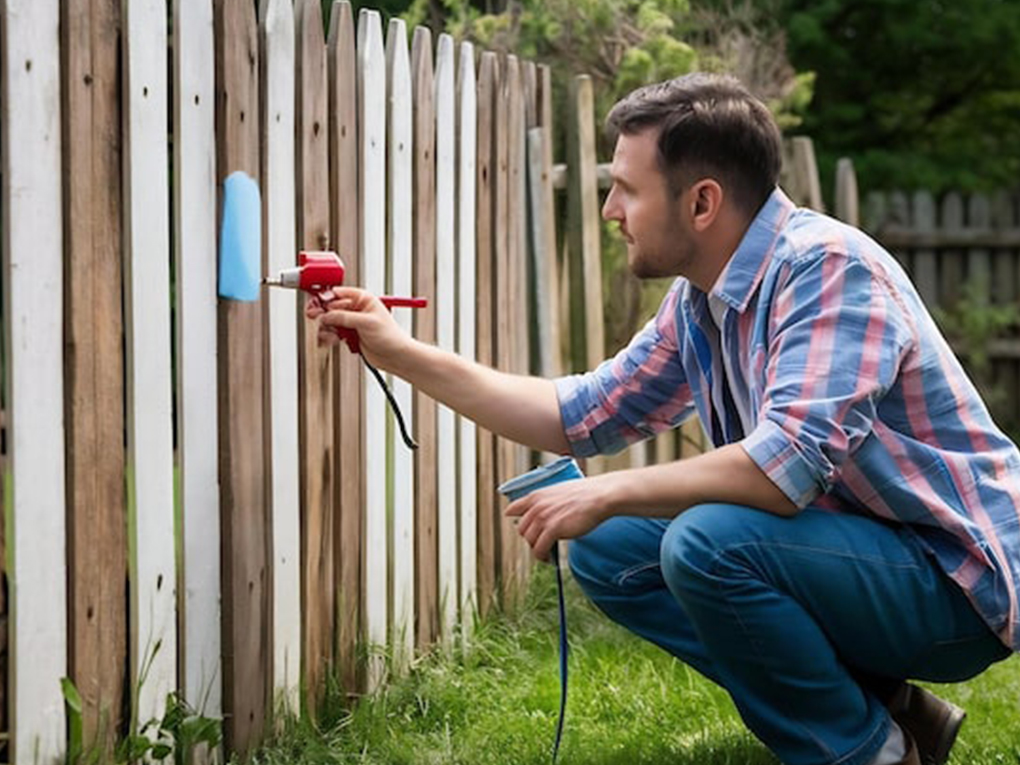
For large boundary lines, brushing every single post manually can be exhausting. If you have a large property and want to speed up the process immensely, learning how to paint a fence with a sprayer will save you countless hours and deliver an incredibly smooth, factory-like finish. Always apply two coats of paint, allowing ample drying time between each coat for the best durability.
Navigating Common Outdoor Painting Challenges
Working outdoors presents unique obstacles, primarily dealing with the surrounding environment. You must protect the ground beneath you. Many homeowners worry about ruining their pristine landscaping, so mastering how to paint a fence without getting it on grass is crucial for a clean, professional finish.
Use canvas drop cloths, plastic sheeting, or even large pieces of cardboard tucked tightly against the base of the post. Avoid using flimsy plastic sheets on windy days, as they can blow up and stick to your freshly painted wood.
Furthermore, always monitor the weather forecast. Do not paint in direct, blazing sunlight, as the heat will dry the paint too quickly, preventing it from bonding and causing brush drag. Conversely, avoid painting if rain is predicted within the next 24 hours.
Frequently Asked Questions (FAQs)
Do I absolutely need to prime fence posts before painting?
Yes, priming is highly recommended, especially for bare, new, or heavily weathered wood. Primer seals the grain, stops stains from bleeding through, and ensures the topcoat adheres firmly, preventing future peeling.
What is the best type of paint for outdoor wooden posts?
A high-quality, 100% acrylic exterior latex paint is generally the best choice. It remains flexible, allowing the timber to expand and contract with temperature changes without the paint cracking.
How many coats of paint do I need?
For optimal protection and color depth, you should always apply one coat of primer followed by two coats of exterior paint.
Can I just paint over rotting wood?
No. Paint will not fix structural issues. If you paint over wet rot, you will simply trap the moisture inside, accelerating the decay process. Rotten sections must be cut out and filled with epoxy wood filler, or the post must be entirely replaced.
How long should I wait between washing and painting?
You must wait until the wood is completely dry to the touch and internally. Depending on the weather and humidity levels, this typically takes between 24 and 48 hours after a thorough washing.
Understanding exactly how to paint fence posts is a highly rewarding DIY skill that instantly upgrades your property’s exterior.
By investing time in proper preparation, utilizing high-quality materials, and applying careful techniques, you can achieve a stunning, durable finish that protects your boundary for years to come. Do not let weathered timber detract from your beautiful backyard any longer.
Ready to transform your outdoor space but don’t have the time or energy to tackle the project yourself? Gathering the tools and spending the weekend covered in primer isn’t for everyone. Reach out to local professionals today to get a quick quote and have your perimeter looking flawless in no time!
- Address: 71 Rochester Road, Balwyn, VIC 3103
- Hotline: 0401 851 598
- Email: pm@vcolour.com.au
- Website: www.vicpainter.com
- Facebook: facebook.com/fencepaintingmelbourne/
- Instagram: instagram.com/wallrepair.melbourne/