How to paint a fence without getting it on grass?
Refreshing your backyard boundaries can dramatically boost your property’s curb appeal. However, many homeowners hesitate to take on this project because they dread the inevitable mess. Spilling harsh chemicals or vibrant colors on your meticulously maintained lawn can ruin the aesthetic of your entire landscaping effort. If you are wondering how to paint a fence without getting it on grass, you have come to the right place.
Achieving a clean, professional finish requires a combination of strategic preparation, the right protective barriers, and careful application techniques. This comprehensive guide will walk you through exactly how to execute a flawless outdoor makeover without sacrificing a single blade of grass.
Why Protecting Your Lawn Matters
You might think that a few drops of stain or color on your lawn will just get mowed away next week. Unfortunately, it is rarely that simple.
Most exterior paints and wood stains contain harsh solvents, VOCs (Volatile Organic Compounds), and heavy pigments.
When these chemicals soak into the soil, they can burn the grass, damage the root systems, and leave unsightly dead patches that take months to recover.
Furthermore, oil-based products act as a water repellent, essentially suffocating the grass underneath. Therefore, setting up proper protective measures is not just about keeping your yard looking tidy; it is about protecting the health of your landscaping.
Essential Tools for a Mess-Free Job
Before you open a single can, gather the necessary supplies. Having everything within reach minimizes the risk of accidental kicks and spills. You will need:
- Large flattened cardboard boxes or a dedicated paint shield.
- Heavy-duty canvas drop cloths (canvas absorbs drips better than plastic).
- Painter’s tape.
- A weed whacker or edge trimmer.
- Your chosen applicator (brush, roller, or sprayer).
- High-quality exterior paint or stain.
Step 1: Preparing Your Workspace
A clean workspace guarantees a clean result. Do not rush straight into applying color. Take the time to set up your environment properly.
Clearing the Perimeter
First, use a weed whacker or lawn edger to trim the grass directly beneath and adjacent to the panels. Cutting the grass short reduces the surface area that can accidentally brush against wet surfaces. Rake away all loose clippings, leaves, and debris.
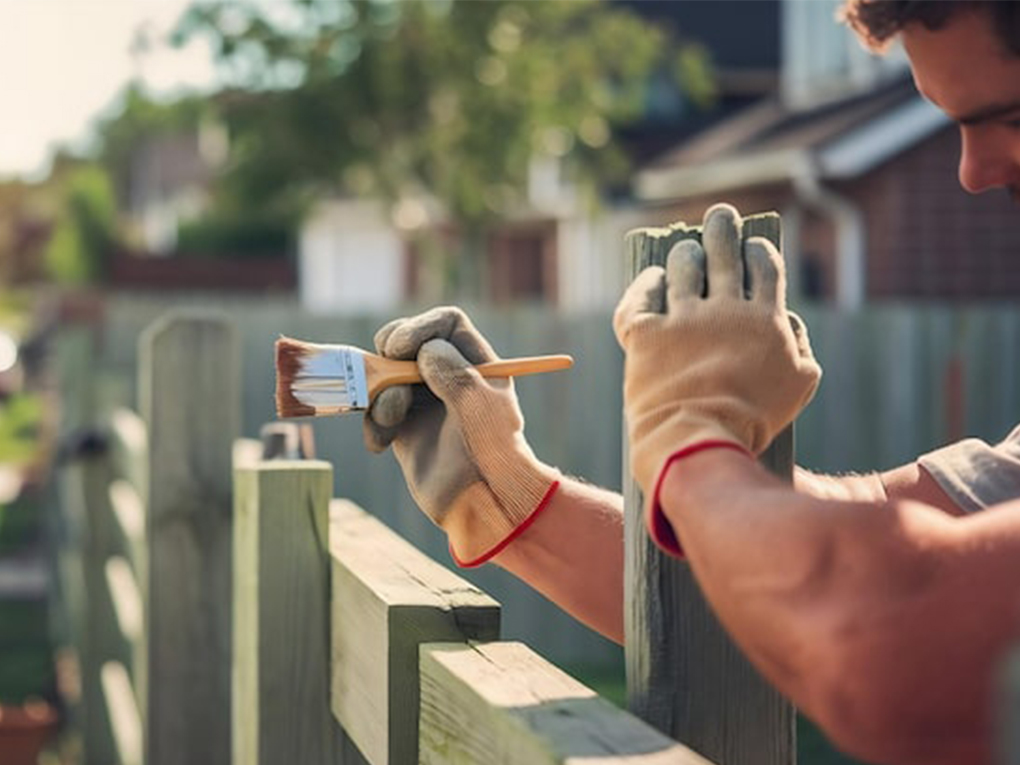
Cleaning and Repairing the Wood
Your protective barrier will not matter if the coating does not stick to the wood, causing heavy dripping. Knowing exactly how to prep a fence before painting is crucial to ensure the new coat adheres perfectly.
This usually involves power washing the surface to remove dirt, mold, and peeling flakes, then letting it dry completely.
Furthermore, if you are dealing with severely damaged panels, understanding how to paint an old weathered fence will help you restore the wood’s structural integrity before applying any liquid, significantly reducing the chances of messy runoff.
Step 2: Creating a Reliable Ground Barrier
The secret to keeping your lawn pristine lies in the physical barrier you place between the wood and the earth. Here are the most effective methods.
The Cardboard Shield Method
This is arguably the most effective trick for homeowners. Flatten several large cardboard boxes. Slide the edge of the cardboard directly under the bottom rail or pickets, pushing it back so it slightly bends against the ground and creates a tight seal.
Cardboard is rigid enough to stay in place, cheap to replace, and highly absorbent. As you move along the perimeter, simply slide the cardboard forward.
Using Drop Cloths and Plastic Tarps
If the gap beneath your pickets is too narrow for cardboard, canvas drop cloths are your next best option. Tuck the edge of the canvas tightly under the bottom rail.
Avoid using cheap, thin plastic tarps if possible. Plastic does not absorb liquids; it causes them to pool. If you step in a puddle of spilled product on a plastic tarp, you will inevitably track those footprints across your lawn.
Plywood Boards for Heavy-Duty Protection
For uneven terrain where cardboard might bend or warp, thin strips of plywood or MDF work wonders. Lay the wood flat against the grass, wedged tightly under the bottom rail. This provides a hard, stable surface that catches all drips and blocks any rogue sprays.

Step 3: Choosing the Right Application Method
The tool you choose dictates the level of risk to your lawn. You must adapt your protection strategy based on your application method.
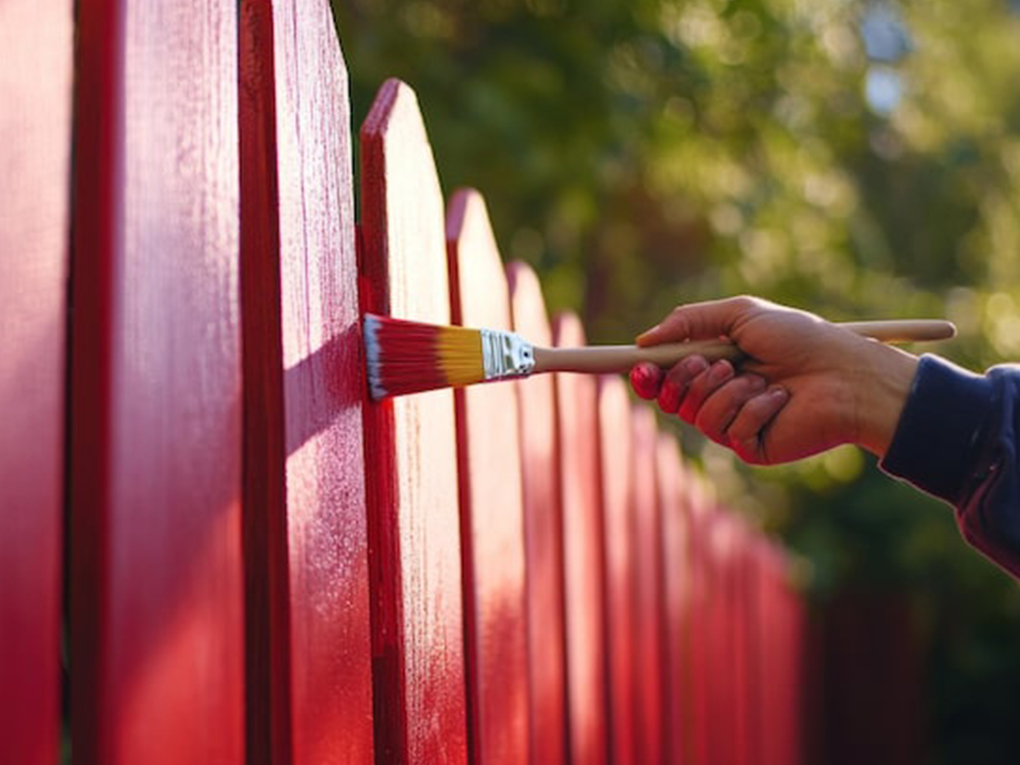
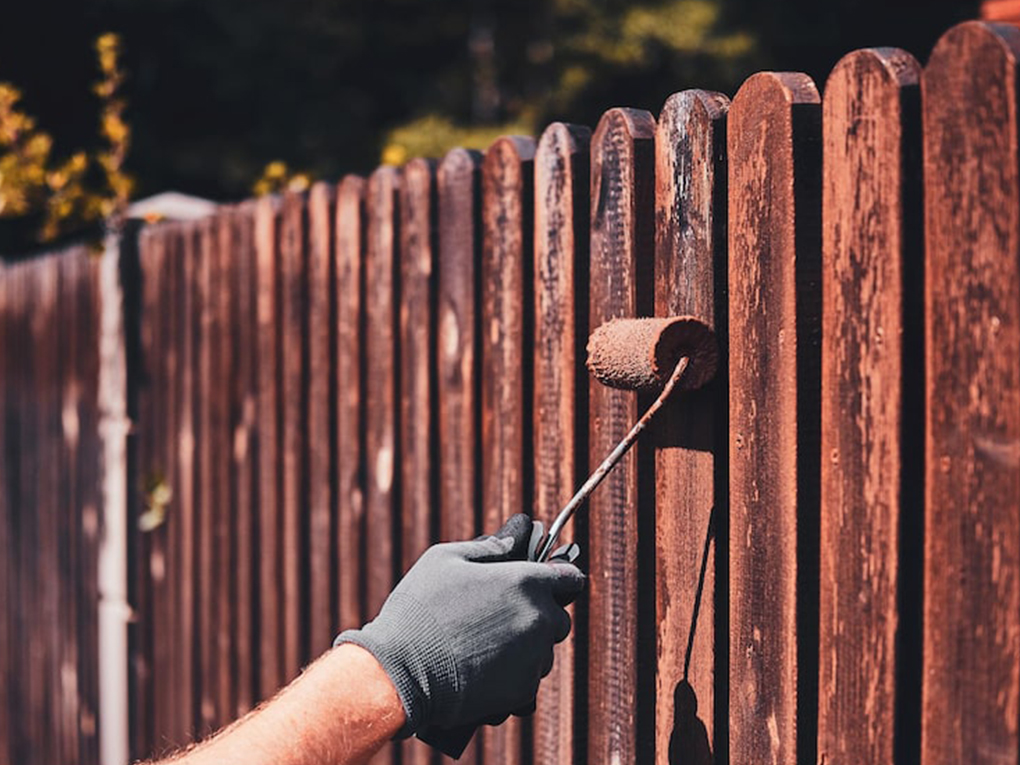
Using a Brush for Maximum Precision
Using a high-quality brush gives you the ultimate control. It is the safest method for your grass because you manage exactly where every drop goes.
However, brushing an entire perimeter is incredibly time-consuming and physically demanding. Use a brush primarily for cutting in the edges near the ground, where the risk to the grass is highest.
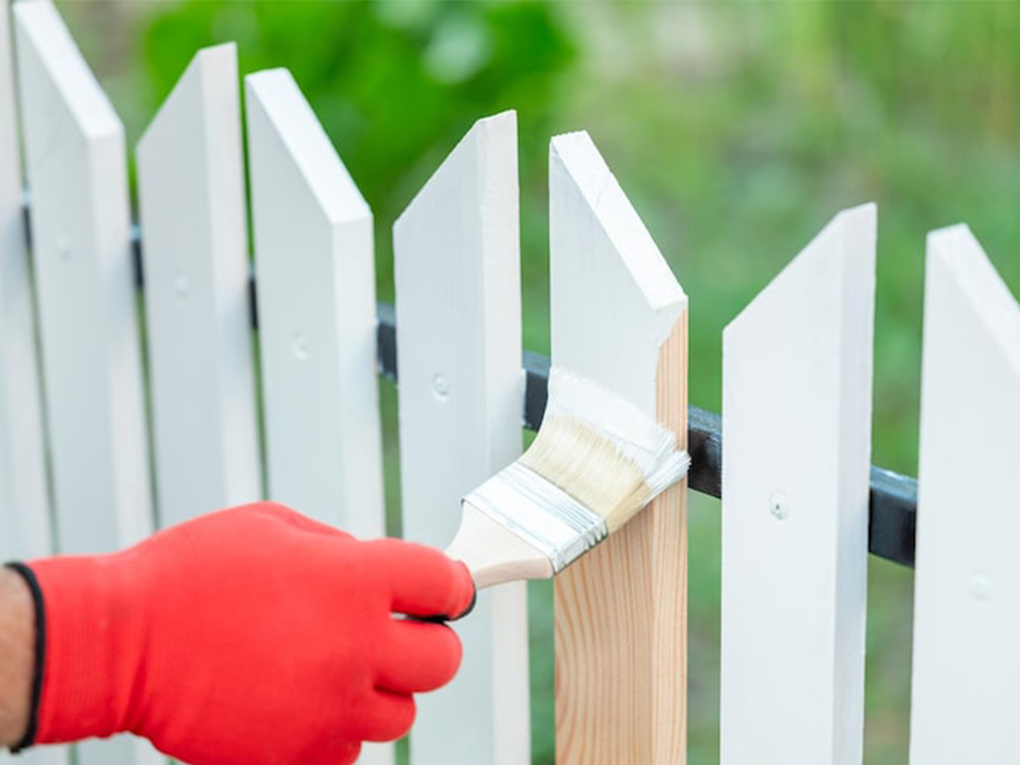
The Roller Technique
Many homeowners find that mastering how to paint a fence with a roller strikes the perfect balance between speed and control.
Rollers cover large areas quickly while producing far fewer airborne particles than mechanized equipment. Just be careful not to overload the roller, as excess liquid will immediately drip onto your drop cloths or grass.
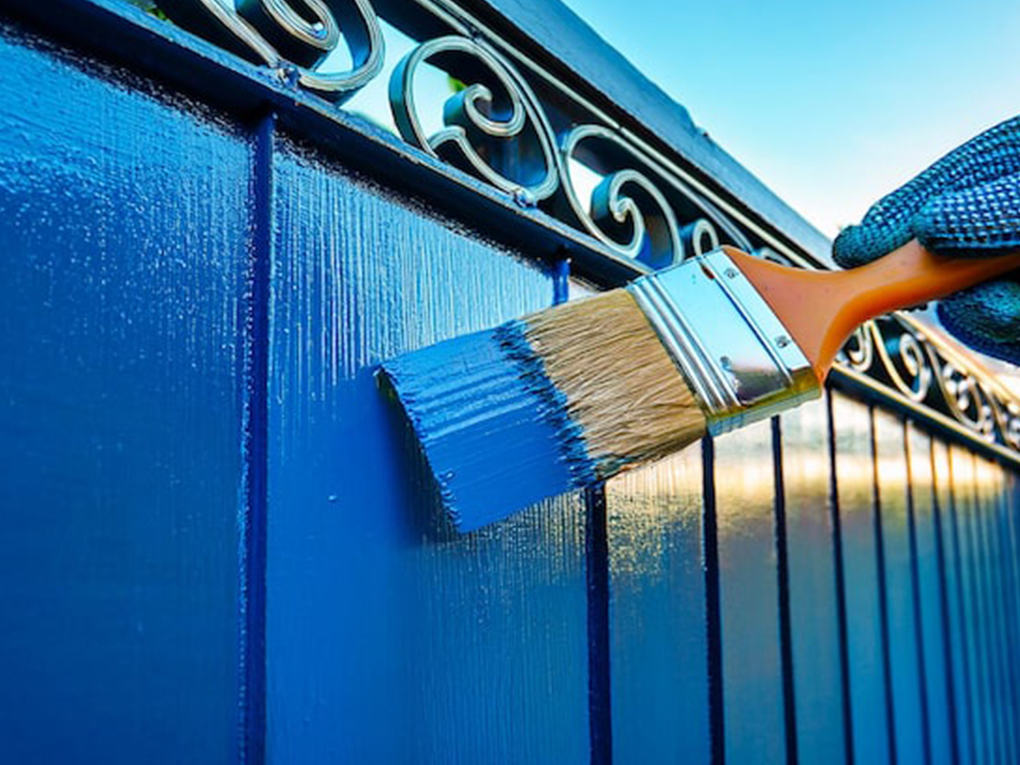
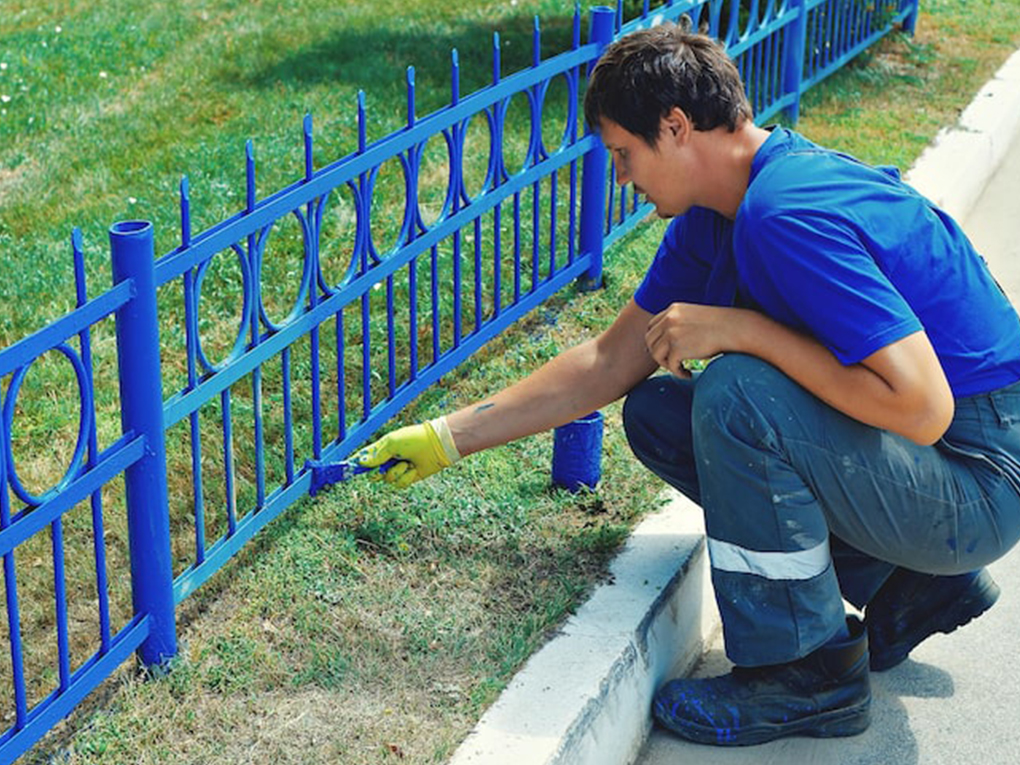
Sprayer Strategies
While understanding how to paint a fence with a sprayer can save you hours of labor, it dramatically increases the risk of overspray drifting onto your lawn and landscaping.
If you choose this fast method, you must upgrade your protection. You will need wider drop cloths and a large, handheld spray shield (a piece of aluminum or hard plastic) that you hold directly at the base of the wood as you spray, blocking the mist from hitting the ground.
Professional Tips to Prevent Drips and Spills
Investing in professional fence painting materials and techniques will drastically improve the longevity of your yard’s boundaries while keeping the area clean.
- Watch the Weather: Never work on a windy day. Wind will blow wet product off your brush or out of your sprayer directly onto your lawn.
- Work Top to Bottom: Always start at the top and work your way down. This allows you to catch and brush out drips before they reach the bottom rail and fall onto the grass.
- Do Not Overload: Dip your brush only a third of the way into the can. Tap it against the side-do not wipe it-to remove excess liquid.
Frequently Asked Questions (FAQs)
Can you wash wet paint off grass?
If it is a water-based acrylic or latex, you can immediately hose it down heavily to dilute it before it dries. However, if you are using an oil-based stain, water will not help, and you risk spreading the toxic chemicals deeper into the soil.
Will exterior wood paint kill my lawn?
Yes, concentrated spills can kill grass. The solvents and heavy pigments block sunlight and poison the root system. Prevention is always better than trying to revive dead patches later.
How do you protect plants and shrubs while painting?
Cover nearby bushes and flowers with lightweight canvas drop cloths or old bedsheets. Do not use plastic, as the sun can heat the plastic and bake your plants in a matter of hours.
What is the best material to put under a fence when painting?
Flattened cardboard is the best combination of rigid protection and absorbency. Canvas drop cloths are a close second.
Can I just mow the painted grass?
If only the very tips of the grass blades caught a light mist of overspray, mowing might remove the visible issue. However, heavy drips will soak down to the soil level, which mowing will not fix.
Learning exactly how to paint a fence without getting it on grass comes down to patience and proper staging. By trimming your lawn, utilizing rigid barriers like cardboard, and choosing the right application techniques, you can completely avoid landscaping disasters.
Take your time during the preparation phase; an extra hour spent laying down drop cloths will save you weeks of trying to regrow chemical-burned grass.
If you are dealing with a massive property boundary or simply do not have the time to tackle the preparation and application yourself, consider reaching out to the professionals.
Expert contractors have the specialized tools and experience required to deliver a flawless, vibrant finish while leaving your lawn absolutely pristine. Gather your supplies, plan your weekend, and get ready to enjoy a beautifully refreshed outdoor space!
- Address: 71 Rochester Road, Balwyn, VIC 3103
- Hotline: 0401 851 598
- Email: pm@vcolour.com.au
- Website: www.vicpainter.com
- Facebook: facebook.com/fencepaintingmelbourne/
- Instagram: instagram.com/wallrepair.melbourne/