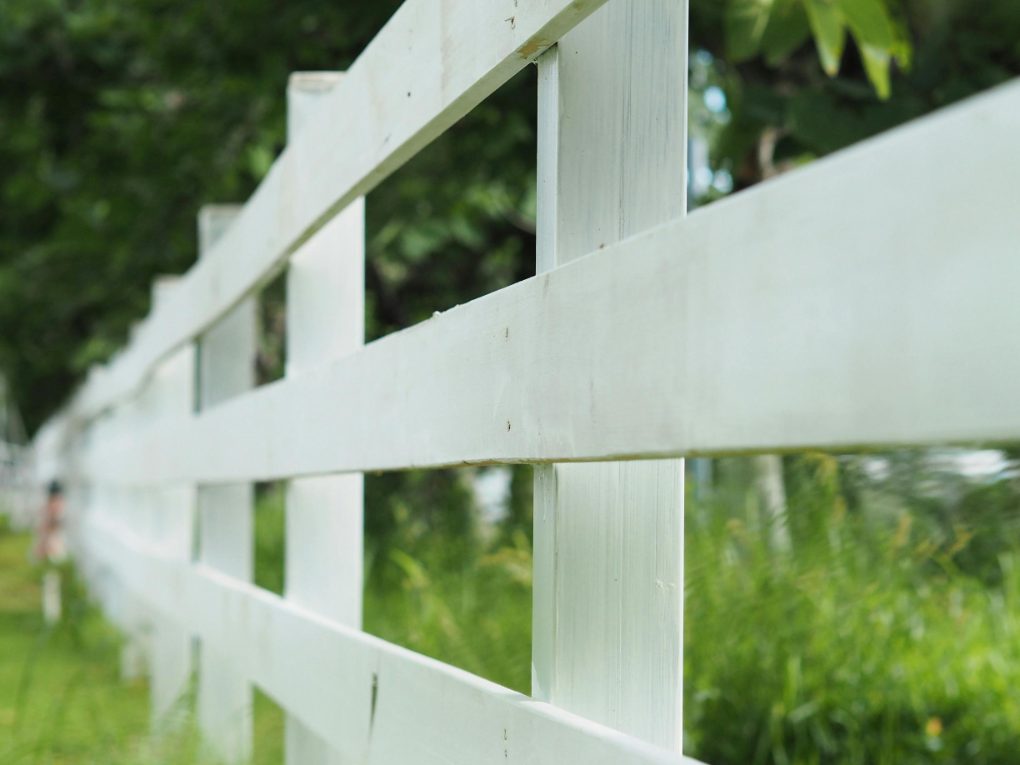
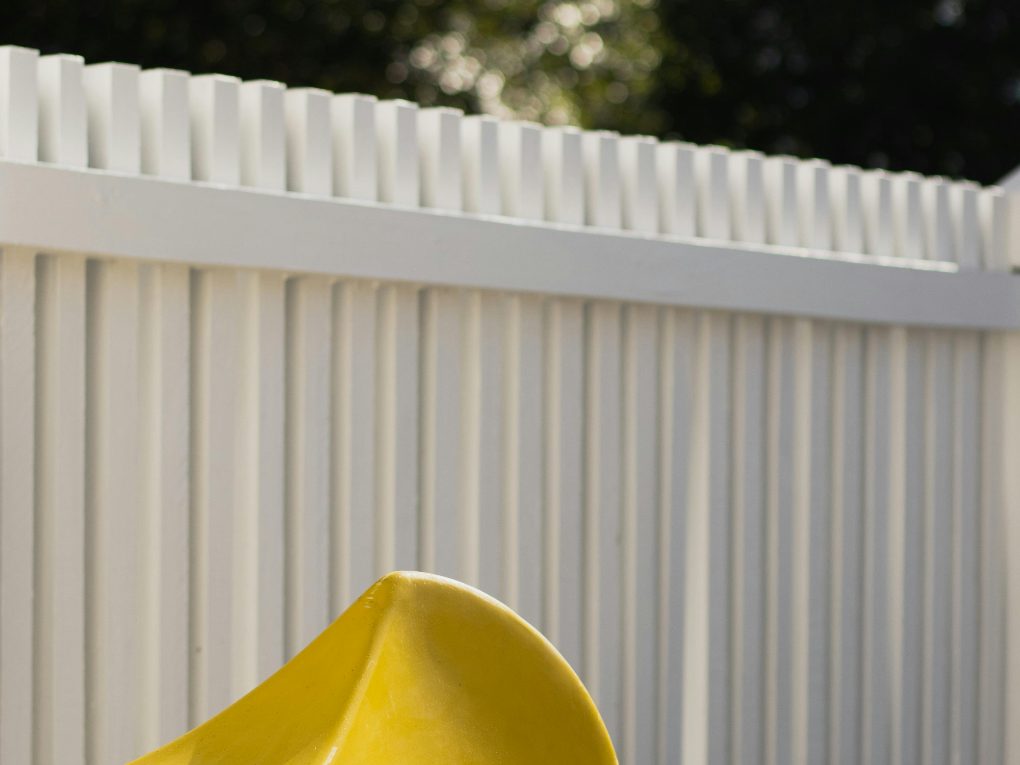
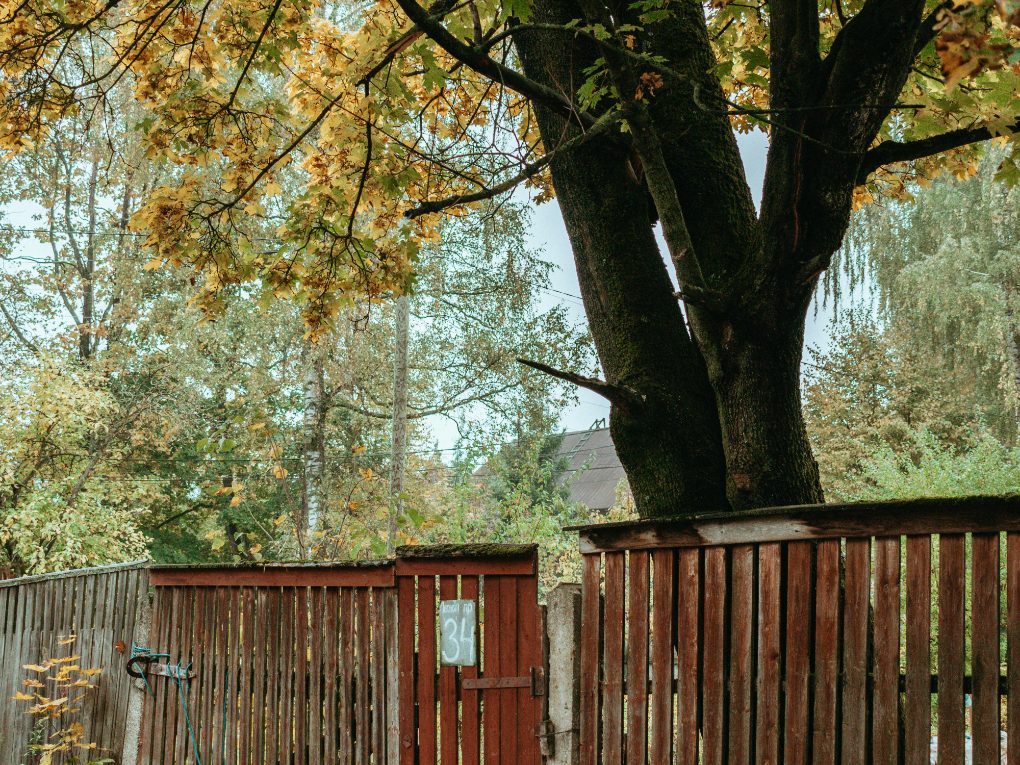
A Complete Guide on How to Paint Fence for Long-Lasting Results
Your property’s exterior is the first thing people notice, and the boundary line plays a massive role in that initial impression. Over time, harsh weather, UV rays, and general wear and tear can leave your property boundaries looking faded, peeling, and tired. If you are looking to boost your home’s curb appeal, learning how to paint a fence is one of the most rewarding and impactful exterior projects you can undertake.
Why Restoring Your Fence is a Smart Investment
Taking the time to properly maintain your boundary lines goes far beyond simple aesthetics. Timber is highly susceptible to the elements. Without a protective barrier, wood can quickly rot, warp, or become infested with pests. A fresh layer of premium coating acts as a shield against moisture and sun damage, significantly extending the lifespan of the timber.
Furthermore, from a commercial perspective, maintaining your property’s exterior adds tangible value. If you are considering selling your home in the future, a well-maintained yard creates an immediate positive impression for potential buyers. It signals that the property has been cared for, making the effort an excellent return on investment.
Essential Tools and Materials You Will Need
Before you begin, gathering the right equipment is critical. Having everything on hand prevents frustrating mid-project trips to the hardware store. Here is what you should add to your checklist:
- Cleaning equipment: A stiff-bristled brush, a scraper, and ideally a pressure washer.
- Repair tools: Exterior wood filler, sandpaper (medium and fine grit), a hammer, and spare nails.
- Painting tools: High-quality synthetic brushes (for cutting in), a medium-nap roller with an extension pole, or a specialized sprayer.
- Protection: Heavy-duty drop sheets, painter’s tape, and protective gear (gloves, safety glasses, and a mask).
- Liquids: Exterior-grade primer and top-tier exterior paint.
Step-by-Step Guide: How to Paint a Fence Perfectly
Achieving a flawless result comes down to a systematic approach. Skipping steps, particularly in the early stages, will only lead to peeling and flaking down the road.
Step 1: Thorough Preparation and Cleaning
The foundation of any great paint job is a clean canvas. Start by laying down your drop sheets to protect your grass, plants, and paving. Next, inspect the timber for peeling, flaking, or blistering. Use your scraper and wire brush to remove any loose debris.
Once the loose material is gone, the entire surface needs a deep clean. A pressure washer is highly effective here, but be careful not to use a setting so high that it damages or gouges the wood.
If you do not have a pressure washer, a mixture of water, mild detergent, and a stiff brush will do the trick. Allow the timber to dry completely—which may take a few days depending on the weather—before moving on.
Step 2: Making Necessary Structural Repairs
Examine the panels and posts for rot or damage. Fill any holes, deep cracks, or gouges with a high-quality exterior wood filler.
Once the filler is completely dry, sand it smooth so it sits flush with the rest of the timber. This is also the perfect time to secure any loose palings or pickets by hammering in protruding nails or adding new exterior-grade screws.
Step 3: Protecting the Surface with Primer
A common mistake many homeowners make is skipping straight to the topcoat. However, many people ask do you need to prime a fence before painting, and the answer is absolutely yes, especially if you are working with bare timber, heavily stained wood, or making a drastic color change.
Primer serves two vital purposes: it seals the porous wood so it absorbs less of your topcoat, and it provides a gripping surface for the final layers to adhere to. Apply an even coat of exterior primer and allow it to dry according to the manufacturer’s instructions.
Step 4: Applying the Final Coats
Now comes the transformative part. When applying your topcoats, you have a few choices of application methods. Using a roller is great for flat panels, while a brush is necessary for getting into tight gaps and edges.
Alternatively, to save significant time on large perimeters, you might choose to https://www.vicpainter.com/spray-paint-fence/|spray paint fence panels for a rapid, even finish.
Whichever method you choose, selecting a premium wood fence paint is crucial. You want a product specifically formulated for exterior timber that offers UV resistance and flexibility to expand and contract with temperature changes.
Apply the first coat, working top to bottom to catch drips, and let it dry completely before applying a second coat for maximum durability and color depth.

Professional Techniques for a Flawless Finish
Executing a high-end fence painting project requires patience and an understanding of the environment. Here are a few pro tips to elevate your results:
- Watch the Weather: Never paint in direct, blazing sunlight or extreme heat, as the product will dry too quickly and fail to adhere properly. Likewise, avoid days with high humidity or rain in the forecast. Overcast days with mild temperatures are ideal.
- Follow the Grain: Always brush or roll in the direction of the wood grain. This helps work the liquid into the grooves and ensures a natural-looking finish.
- Maintain a Wet Edge: To avoid visible overlapping marks (lap marks), always work from wet areas into dry areas, maintaining a continuous “wet edge” as you move along the panels.
- Do Not Skimp on Coats: Two coats of color over one coat of primer is the golden rule for longevity. Trying to get away with a single thick coat will compromise the protective qualities of the finish.
Frequently Asked Questions (FAQs)
Is it better to brush, roll, or spray?
Each method has its place. Spraying is the fastest for large areas but requires more prep work to protect surroundings from overspray. Rolling is efficient for flat surfaces, while brushing provides the best penetration into the wood grain and is essential for detailed areas. Many professionals use a combination: rolling the main sections and brushing the edges.
How many coats do I really need?
For the best results and longest-lasting protection, you should apply one coat of exterior primer followed by two coats of premium exterior topcoat.
Do I have to paint both sides?
If the boundary is shared with a neighbor, you should ideally coordinate to protect both sides of the timber. Leaving one side exposed to the elements can cause the wood to warp or rot, which will eventually damage your side as well.
How long does the process take?
This depends on the size of your yard, but generally, expect it to take a full weekend. Prep and cleaning take up the first day, followed by drying time. Priming and the final coats will take up the second day or even a third, depending on drying times between layers.
How often will I need to redo this?
If you prepare the surface correctly and use high-quality exterior products, a solid color finish should last anywhere from 5 to 9 years before needing a complete overhaul.
Learning how to paint a fence properly is a highly satisfying project that dramatically revitalizes your property’s exterior. By committing to thorough preparation, repairing structural flaws, utilizing high-quality primers, and applying premium exterior paints, you guarantee a finish that will withstand the elements for years to come.
However, exterior painting is undeniably hard, physically demanding work that requires multiple days of favorable weather. If you want a flawless, long-lasting result without giving up your weekends, bringing in professional help is always a smart option.
Assess your property today, gather your supplies, or reach out to local experts to ensure your boundary lines look immaculate this season!