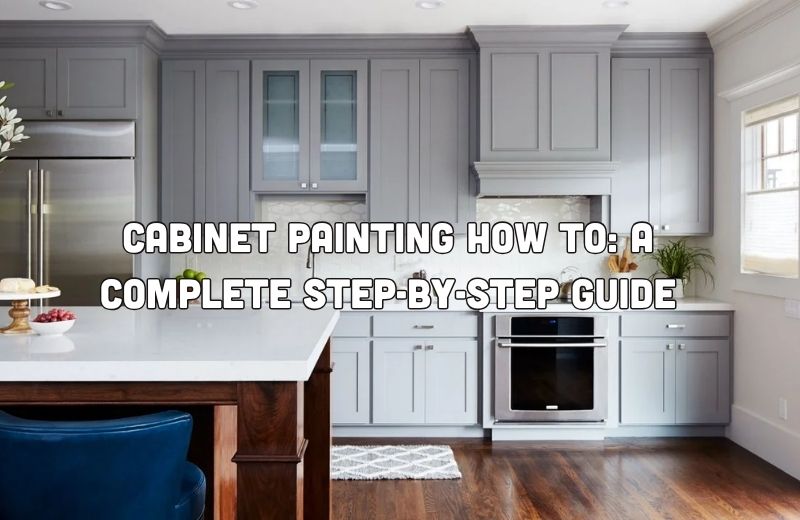
How to Paint Kitchen Cabinets: A Practical DIY Guide
Vic Painter | DIY Cabinet Painting Guide
A practical guide to planning, preparing and repainting kitchen cabinets without rushing the finish.
DIY cabinet painting can update a kitchen, bathroom or laundry without replacing the existing joinery. The result depends less on the colour choice than on cleaning, surface preparation, primer selection and patience between coats.
This guide explains a careful cabinet-painting process, the decisions to make before opening a tin, and the situations where professional help may be the better option. For a larger project or a finish you do not want to trial yourself, see our cabinet painting service in Melbourne.
Keep this in mind: Dry, recoat and full-cure times vary by paint system. Always follow the directions on the specific primer and cabinet coating you choose, rather than relying on a generic timeline.
On this page
Is DIY suitable? · Materials · Six stages · Mistakes · FAQ
Is DIY cabinet painting right for your project?
A cabinet repaint is not a simple wall-painting job. Doors, edges, high-touch areas and existing finishes all need controlled preparation. Decide whether the project is suitable before buying products.
A good DIY candidate
The cabinet doors are stable, cleanable and free from major peeling, swelling or structural damage. You can create a dust-controlled work area and allow enough time for preparation and curing.
Pause and assess first
Water damage, loose laminate, deep chips, failed coatings or greasy surfaces may need repairs and product-compatibility checks before any paint is applied.
Use a professional when
You need a high-spec finish, have many doors or detailed profiles, cannot manage the work area, or want the condition assessed before committing to a paint system. Homeowners comparing cabinet refinishing with broader repainting projects often also look at painters hawthorn for advice on coordinating kitchen upgrades with interior painting.
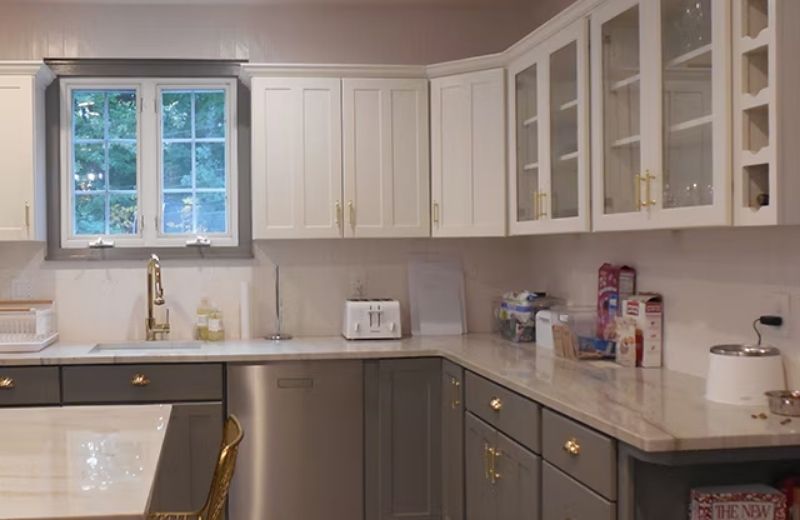
For visual planning, browse these kitchen cabinet before-and-after ideas. Use them for colour and transformation inspiration, not as a substitute for assessing your own doors and surfaces.
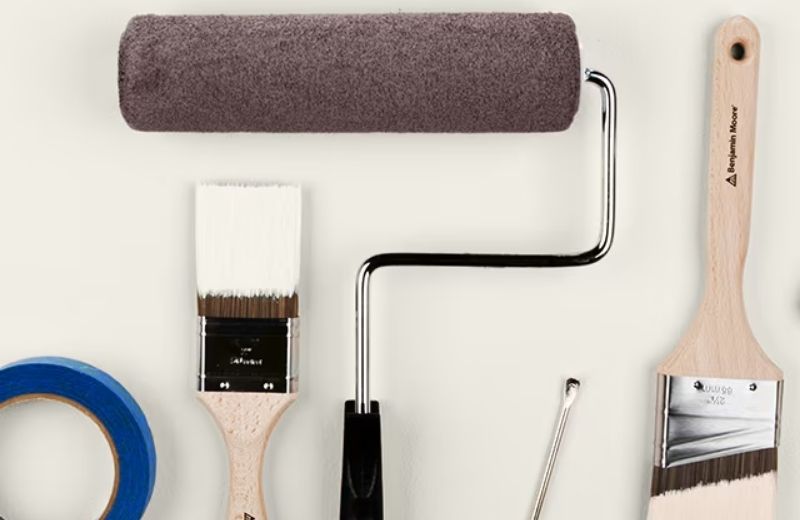
Materials and set-up for DIY cabinet painting
Prepare the tools, products and drying space before dismantling the cabinetry. This prevents you from handling freshly painted doors while searching for missing equipment.
| What to prepare | Why it matters |
|---|---|
| Labelling and hardware tools | A screwdriver, labels and storage bags help keep doors, drawers, hinges and handles organised for reassembly. |
| Cleaning and protection | Use an appropriate cleaner or degreaser, clean cloths, tape and drop sheets to prepare surfaces and protect nearby finishes. |
| Abrasives and dust control | Select sanding products that suit your surface and chosen system. Remove dust before priming or recoating. |
| Primer and cabinet coating | Choose products designed to work together and suited to the existing substrate. Check the label or technical data before buying. |
| Application tools | Use brushes for profiles and edges, plus a suitable roller for flat panels. Choose tools recommended for the coating where possible. |
Do not assume every cabinet surface accepts the same paint. Painted timber, laminate, veneer, MDF and previously coated doors can require different preparation and compatibility checks.
How to paint kitchen cabinets in six essential stages
The exact product directions control dry and recoat times. The sequence below keeps the work organised while allowing the chosen system to set the final timing.
Stage 1. Plan the workspace and label every part
Photograph the cabinetry, then remove doors, drawers and hardware where practical. Label each part and store hinges, screws and handles in matching bags. Create a clean, ventilated and low-dust area for doors to dry flat or as the coating system requires.
Stage 2. Clean, inspect and repair the surfaces
Remove grease, grime and residue with a suitable cleaner. Let the surfaces dry, then inspect edges, joints, chips and failed areas. Resolve loose or damaged sections before relying on primer and paint to cover them.
Stage 3. Abrade the existing finish and remove dust
Follow the preparation method stated for your chosen system. The aim is to create an appropriate surface for adhesion, not to rush through sanding. Remove all sanding dust before moving to primer.
Stage 4. Apply the compatible primer
Use the primer specified for the cabinet material and topcoat. Work thinly and evenly, watching corners, recesses and door edges for excess product. Let the primer dry and, where the product system calls for it, prepare it for recoating.
Stage 5. Build the finish with controlled coats
Apply thin, even coats instead of trying to achieve full coverage in one pass. Keep a wet edge, avoid overworking the surface and follow the manufacturer’s recoat interval. Only sand between coats when the product guidance allows or requires it.
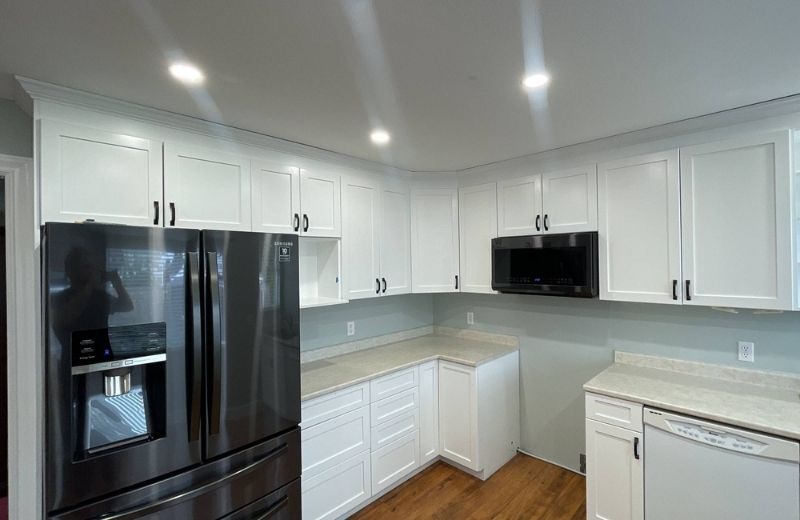
Stage 6. Allow full cure before reassembly
Touch-dry is not the same as fully cured. Keep doors, drawers and hardware separate until the coating reaches the handling and cure stage stated by the manufacturer. Refit hardware carefully to reduce marks or chips at the edges.
Older coatings need extra care: WorkSafe Victoria states that lead-based paint was used on many buildings built before 1970 and sanding or buffing deteriorated coatings can create lead dust. Review WorkSafe Victoria guidance on lead-based paint removal before disturbing suspected older paint.

Common DIY cabinet painting mistakes to avoid
Most cabinet-painting failures start before the topcoat. These problems are avoidable when the preparation and product instructions are treated as part of the job, rather than as optional extras.
- Painting over residue: Kitchen grease and cleaning-product film can interfere with adhesion. Clean thoroughly, then let the surface dry.
- Skipping the compatibility check: Do not assume a paint or primer suits your existing doors. Check the product guidance and test a discreet area where appropriate.
- Applying heavy coats: Thick applications can create runs, pooling and uneven edges. Build coverage through controlled coats.
- Rushing recoat or cure time: Follow the label. The next step should be based on the coating system, temperature and drying conditions, not a fixed online timetable.
- Ignoring damaged doors: Paint does not repair swollen board, loose laminate, unstable joints or substantial chips. Address those defects first.
- Reinstalling hardware too soon: Early handling can mark or chip a surface that is dry to touch but not cured.
If you are refreshing the cabinetry as part of a wider kitchen update, our house painting team in Melbourne can also help with surrounding walls, ceilings and trims.
Safety, ventilation and paint disposal
Read the label and safety data for each cleaner, primer and coating. Keep the work area ventilated as directed, use appropriate personal protection and keep paint products away from children, pets and food-preparation areas.
Do not place leftover paint, thinners or varnishes in household landfill. EPA Victoria lists these materials as waste that should go to a hazardous-waste drop-off site. [EPA Victoria disposal guidance]
Prefer a professional cabinet finish?
If the doors are damaged, the project is extensive or you prefer not to manage preparation and curing yourself, share photos and your cabinet layout for a tailored scope.
Frequently asked questions
Can I paint laminate kitchen cabinets?
Some laminate surfaces can be repainted, but the preparation and primer must be compatible with the existing finish. Clean, assess the surface, follow the selected product instructions and test a discreet area when appropriate.
Should I remove cabinet doors before painting?
Removing doors and hardware usually makes it easier to clean, prepare and coat edges. Label each component so it can be returned to the correct position after the coating has cured.
How many coats do kitchen cabinets need?
The required number of coats depends on the selected system, colour change, substrate and coverage. Follow the primer and paint instructions instead of trying to get coverage from one heavy coat.
When should I hire cabinet painters?
Consider a professional service when the doors have substantial damage, the finish has failed, the cabinetry is detailed or extensive, or you want a controlled project with a high-spec result.
Official safety and disposal references