How to paint a fence with a sprayer?
Upgrading your backyard does not always require a massive landscaping budget. Often, a fresh coat of color on your property lines is all it takes to breathe new life into your outdoor living space. If you want to revitalize your outdoor space, investing in high-quality fence painting can completely transform your home’s exterior appeal. However, standing in the hot sun with a tiny brush for days on end is a daunting prospect.
Why Choose a Paint Sprayer for Your Fencing Project?
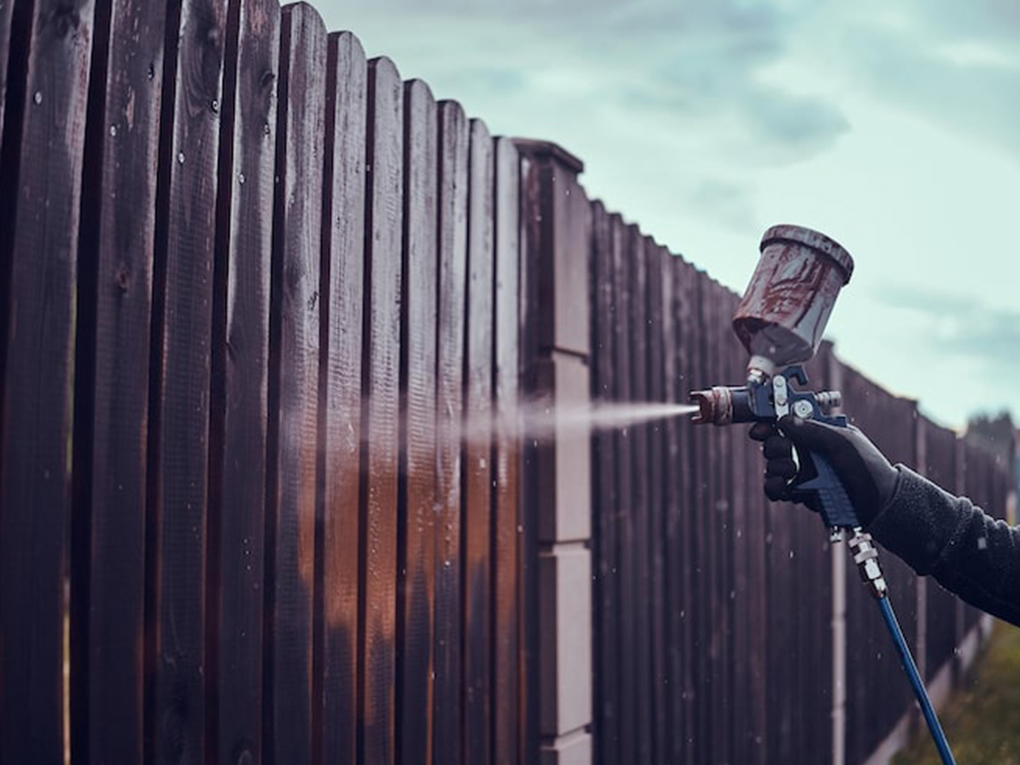
When tackling large outdoor projects, efficiency is everything. A high-volume, low-pressure (HVLP) or airless paint sprayer propels a fine mist of paint directly onto the wood. This method offers several distinct advantages over traditional manual application:
- Unmatched Speed: What takes an entire weekend with a brush can often be accomplished in just a few hours with a high-quality sprayer.
- Flawless Coverage: Sprayers effortlessly force paint into the deep grains, knots, and tight crevices of overlapping timber boards that bristles simply cannot reach.
- Smooth Finish: By eliminating brush strokes and roller marks, you secure a professional-looking, even coat across every single panel.
Essential Preparation for a Long-Lasting Coat
Mastering how to paint a fence step by step starts with rigorous preparation and ends with careful execution. Skipping the prep work is the fastest way to guarantee peeling, flaking, and uneven coloration down the road.
Gathering the Right Tools and Materials
Before you pull the trigger on your machine, ensure you have your arsenal ready. You will need:
- An airless or HVLP paint sprayer
- Exterior-grade paint or wood stain
- Drop cloths, plastic sheeting, and heavy-duty masking tape
- A pressure washer or a stiff bristle brush
- Personal Protective Equipment (PPE): safety goggles, an N95 respirator mask, and gloves
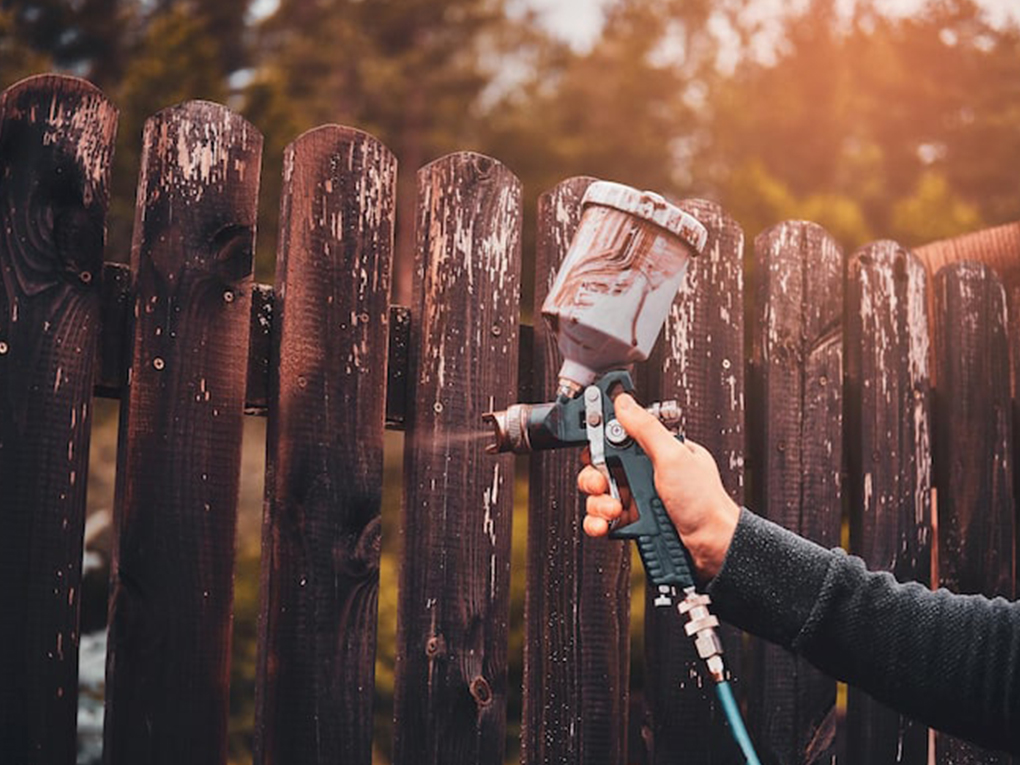
Prepping the Timber and the Surrounding Area
First, clean the wood thoroughly. Use a pressure washer on a low setting to blast away years of dirt, algae, and loose, flaking paint. Allow the timber to dry completely for at least 24 to 48 hours.
Next, protect your environment. Overspray is the biggest challenge when using atomized machinery. Cover nearby plants, grass, concrete pathways, and outdoor furniture with canvas drop cloths or plastic sheeting. Tape off any hardware, gates, or decorative elements you want to keep pristine.

Selecting the Perfect Finish for Your Timber
Before loading your hopper, you need to settle the great debate of fence paint vs fence stain based on your timber’s condition and your desired aesthetic.
Paint sits on top of the wood, providing a thick, protective barrier that easily hides imperfections and offers endless color choices.
Conversely, stain penetrates deep into the wood fibers, enhancing the natural grain while protecting against moisture and UV rays.
If your timber is older and highly weathered, a solid acrylic exterior paint might be the best choice to lock out moisture and hide visual flaws.
Masterful Spraying Techniques
Once your surface is prepped and your materials are chosen, it is time to get to work. Spraying requires rhythm, patience, and a steady hand.
Setting Up Your Equipment Safely
Read your manufacturer’s instructions carefully. Depending on your machine and the thickness of your chosen product, you may need to thin the paint slightly with water or a specific solvent to prevent clogging.
Always run a quick test spray on a piece of scrap cardboard to adjust the pressure settings and ensure the fan pattern is wide and even.
The Application Process
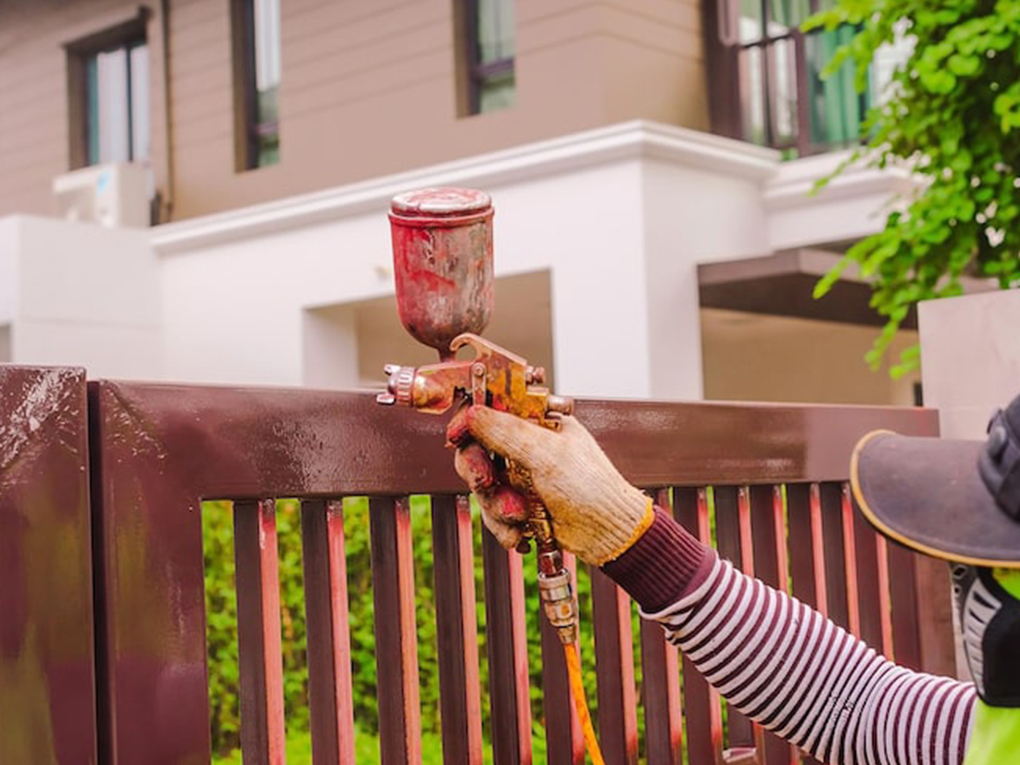
Hold the spray tip perfectly perpendicular to the surface, maintaining a consistent distance of about 10 to 12 inches from the wood.
- Keep Moving: Never start or stop the spray while your hand is stationary, as this will cause immediate drips and heavy buildup. Start your arm motion, pull the trigger, and release the trigger just before your arm stops moving.
- Overlap Your Strokes: For seamless coverage, overlap each pass by approximately 50%. This ensures no bare streaks are left behind.
- Work in Sections: Focus on one panel or one board at a time, working your way from the top down to catch any potential drips.
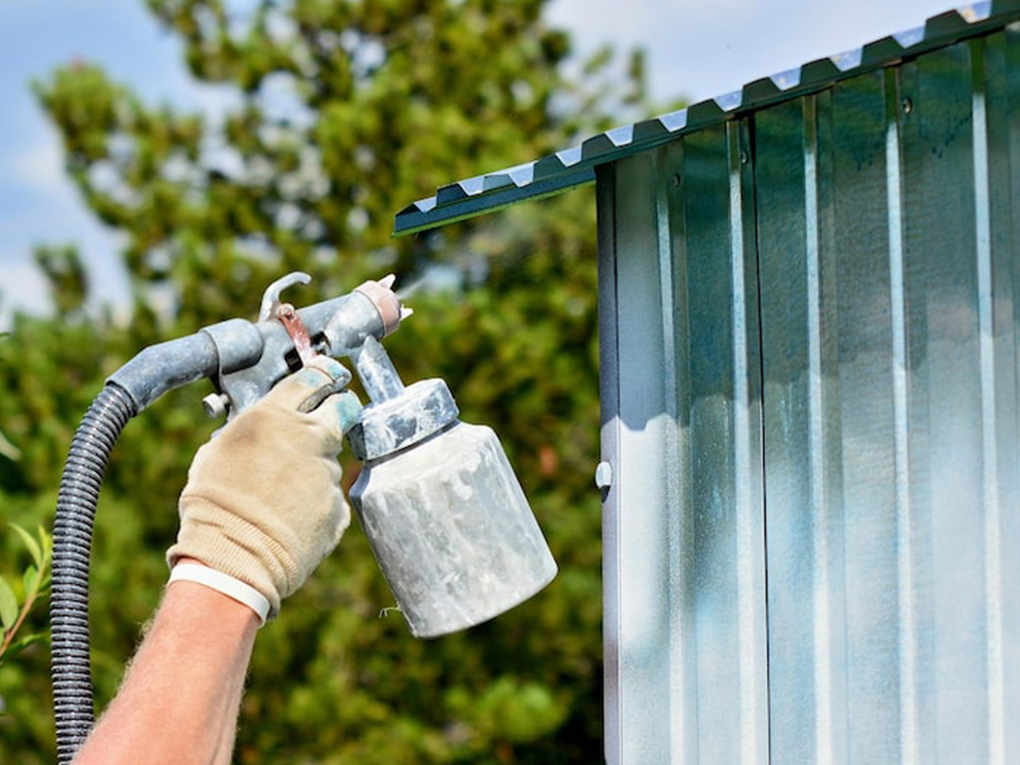
Comparing Application Methods for Outdoor Timber
Every tool has a specific place in home improvement. While knowing how to paint a fence with a roller is beneficial for tight spaces near parked cars or a neighbor’s garden where overspray is a major risk, a sprayer remains the ultimate tool for vast stretches of timber.
Rollers often struggle with the textured, rough-sawn surfaces of typical boundary walls, requiring you to go back over the area with a brush to push the material into the gaps. A sprayer handles those textures instantly.
Managing Your Timeline and Cleanup
Homeowners often ask how long does it take to paint a fence when utilizing a mechanical sprayer, and the answer usually surprises them. An average residential boundary that would take two full days to complete by hand can easily be sprayed in three to four hours.
However, factor in the cleanup time. You must flush the machine’s hoses and nozzles thoroughly with water (or the appropriate solvent for oil-based products) immediately after finishing. Letting material dry inside your lines will ruin the equipment.
Frequently Asked Questions (FAQs)
Do I need to thin exterior paint before spraying?
It depends entirely on the thickness of the paint and the power of your sprayer. Airless sprayers can typically handle unthinned exterior acrylics, while HVLP models usually require the material to be thinned by 10% to 20% for a smooth flow. Always check your equipment’s manual.
Can I spray my fence on a windy day?
No. You should absolutely avoid using atomized machinery on windy days. The wind will carry the overspray onto neighboring properties, vehicles, and unintended areas, creating a massive liability and wasting your materials.
Is it better to roll or spray a wooden fence?
Spraying is exponentially faster and provides better coverage in the wood’s natural grooves and crevices. Rolling is only recommended if you are working in an extremely tight space where controlling airborne overspray is impossible.
How many coats are required when using a sprayer?
Typically, two coats are recommended for maximum durability and color richness. Because sprayers apply a relatively thin layer of material compared to a heavy brush, a second coat ensures total protection against the harsh outdoor elements.
Do I need to back-brush after spraying?
If the timber is heavily textured or extremely dry and porous, “back-brushing” (running a dry brush over the freshly sprayed area) can help force the material deeper into the grain for better adhesion.
Learning how to paint a fence with a sprayer empowers you to tackle massive exterior transformations with incredible efficiency.
By dedicating time to proper preparation, choosing the correct materials, and practicing your spraying technique, you can achieve a durable, stunning boundary line that elevates your entire property.
However, if you realize you do not have the time, the right equipment, or the patience to handle the extensive prep work and overspray management, it is always a smart choice to call in the experts.
Reach out to a professional painting service today to get a quote and secure a flawless, hassle-free finish for your home’s exterior!
- Address: 71 Rochester Road, Balwyn, VIC 3103
- Hotline: 0401 851 598
- Email: pm@vcolour.com.au
- Website: www.vicpainter.com
- Facebook: facebook.com/fencepaintingmelbourne/
- Instagram: instagram.com/wallrepair.melbourne/