How to paint a fence step by step?
A weathered, fading timber fence can instantly drag down the overall look of your property. Conversely, a fresh coat of colour can completely transform your backyard, boosting your home’s curb appeal and protecting the wood from harsh environmental elements. If you are standing in your garden wondering where to begin, you are in the right place.
Learning how to paint a fence step by step does not have to be a daunting task. While it requires a bit of elbow grease and a free weekend, following the right procedures will ensure your hard work pays off with a beautiful, long-lasting finish. Whether you are aiming to modernise your boundary with a sleek charcoal or brighten up the space with a classic white, this guide will walk you through the entire process from preparation to the final coat.
Why Reviving Your Timber Fence is Worth the Effort
Timber is a fantastic, natural material, but it is highly susceptible to UV damage, moisture, and temperature fluctuations. Left untreated, palings can warp, splinter, and rot.
Applying a protective coating does more than just upgrade the visual aesthetics; it creates a vital barrier against the elements.
A well-executed paint job extends the lifespan of your boundary, saving you significant money on premature timber replacement.
Essential Preparation: Getting Your Timber Ready
The secret to a flawless, long-lasting finish lies in the preparation. Skipping these crucial steps will almost certainly result in peeling and flaking down the track.
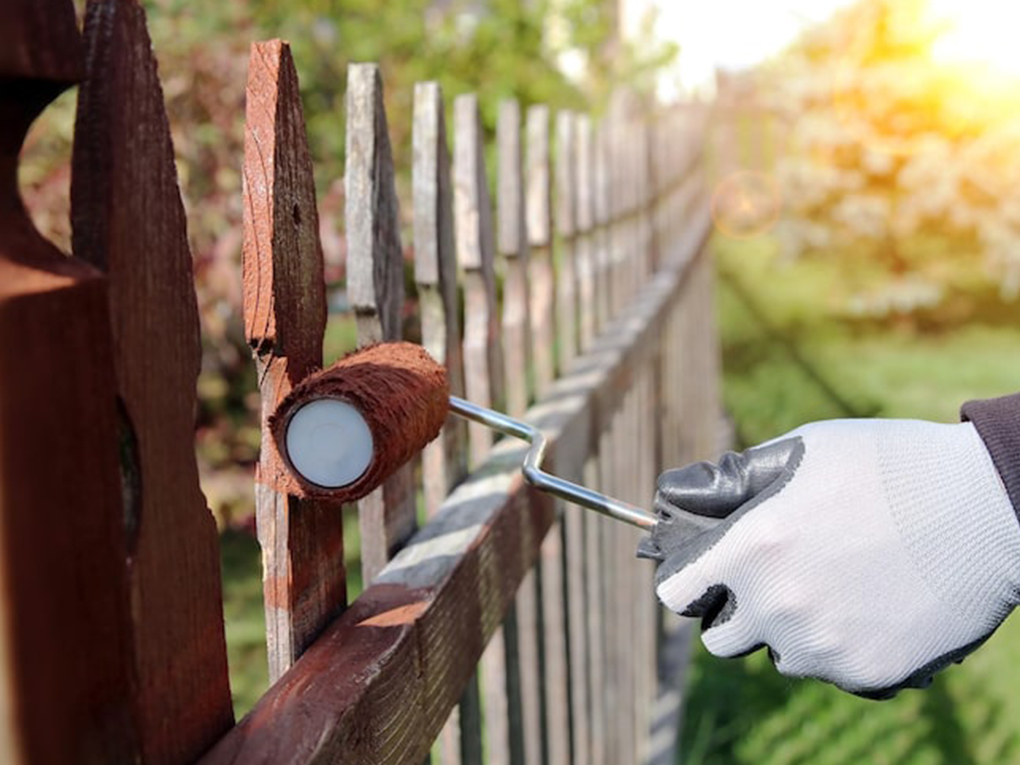
Inspecting for Damage and Rot
Before opening a single tin of paint, walk the length of your boundary line. Look closely for loose nails, broken palings, or signs of wood rot.
Replace any severely damaged timber sections immediately. Furthermore, hammer in any protruding nails and lightly sand down splintered edges to create a smooth, even surface.
Cleaning and Washing the Surface
Paint struggles to adhere to dirt, moss, and old, flaking paint. Use a stiff bristle brush to remove loose debris and cobwebs.
Next, wash the timber thoroughly. A pressure washer is highly effective for this task, but be careful not to use excessive pressure that could gouge the wood.
Alternatively, a simple sugar soap solution and a good scrub will do the trick. Allow the timber to dry completely for at least 24 to 48 hours before proceeding.
Selecting Your Materials
Walking into a hardware store can be overwhelming given the vast array of exterior coatings available. Before buying materials, it helps to understand the difference between fence paint vs fence stain to ensure you achieve the look you want.
Paint sits on the surface, offering maximum UV protection and a vast choice of solid colours, making it excellent for hiding imperfections. Stains, on the other hand, penetrate the timber, highlighting the natural grain but generally requiring more frequent reapplications.
When is the Ideal Weather to Start?
You cannot control the weather, but you can certainly plan around it. Checking the forecast is crucial, as knowing the best time of year to paint a fence will prevent your hard work from being ruined by sudden rain or extreme heat. Ideally, you want mild, dry days with low humidity.
Avoid painting in direct, scorching sunlight, as the heat will cause the coating to dry too rapidly, leading to visible brush marks and poor adhesion.
How to Paint a Fence Step by Step
Once the timber is clean, dry, and repaired, you are ready to begin the transformation. Follow these methodical steps to achieve a professional-looking result.
Step 1: Protect Your Surroundings
Start by laying down canvas drop sheets to protect your grass, paving, and garden beds from accidental drips and spills. Use masking tape to cover any hinges, latches, or nearby fixtures that you do not want to colour.
Step 2: Apply a High-Quality Primer
If you are working with bare, unpainted timber, or making a drastic colour change (like painting a dark surface white), applying a primer is non-negotiable.
A good exterior timber primer seals the porous wood, blocks tannins from bleeding through, and provides a strong foundation for your topcoat to grip onto.
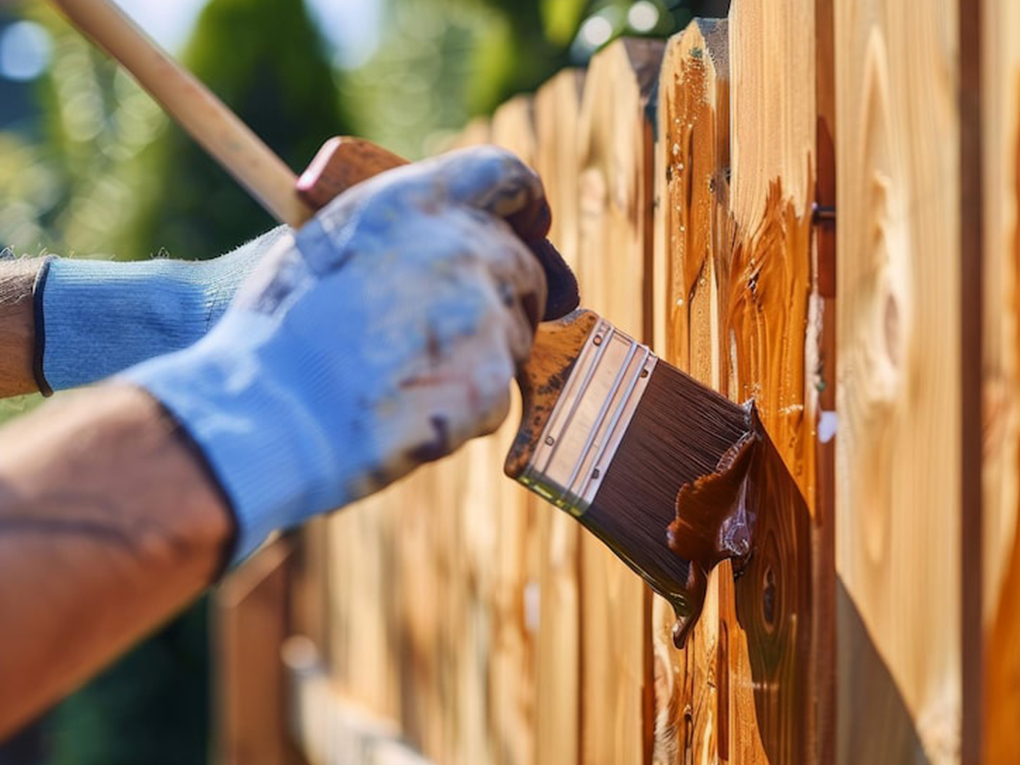
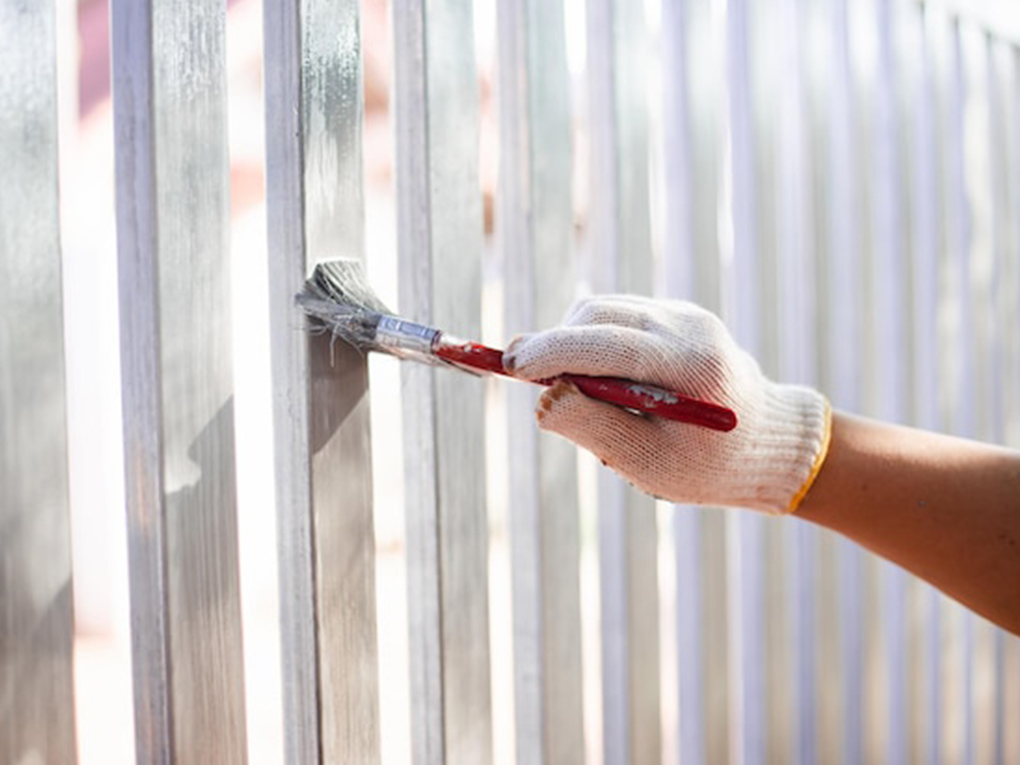
Step 3: Cut in the Edges and Corners
Using a high-quality, angled synthetic brush, start by “cutting in.” This means painting the edges, corners, and the tricky gaps between the palings and the rails where a roller cannot easily reach. Take your time with this step to ensure all the hard-to-reach nooks are completely covered.
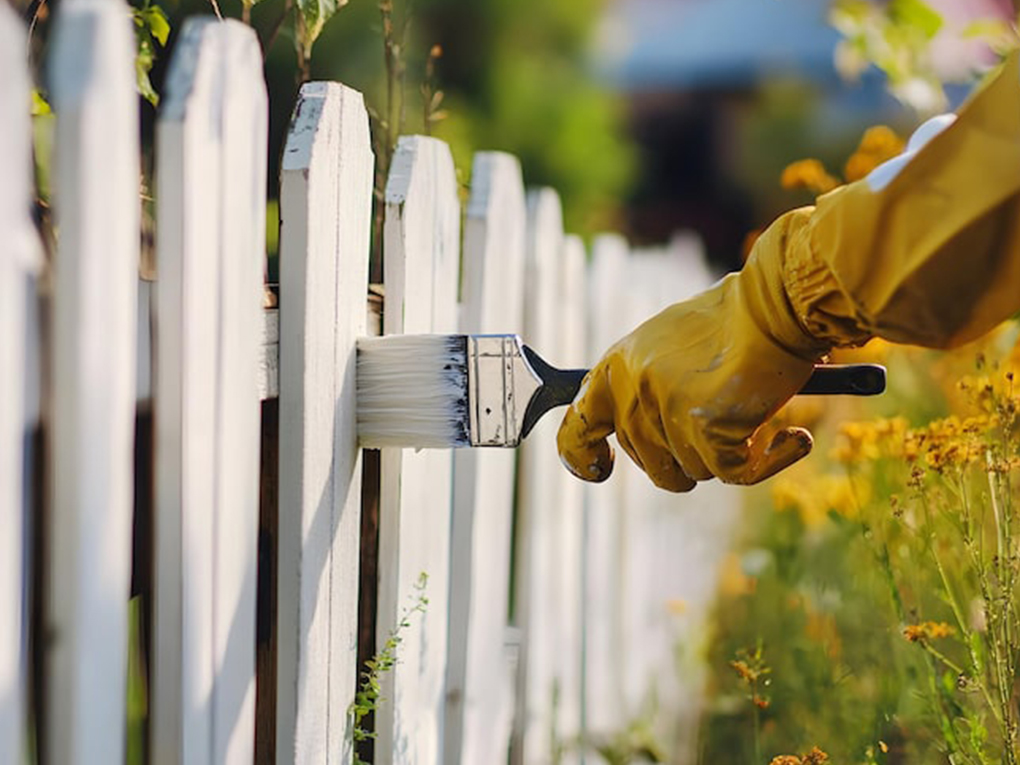
Step 4: Roll or Spray the Broad Surfaces
Once the edges are cut in, switch to a medium-nap roller for the broad, flat faces of the palings. A roller significantly speeds up the process and provides a smooth, uniform texture.
Work in small sections, maintaining a “wet edge” to avoid lap marks. A common question during application is how many coats of paint does a fence need, and generally, two solid coats provide the best coverage, durability, and true colour representation.
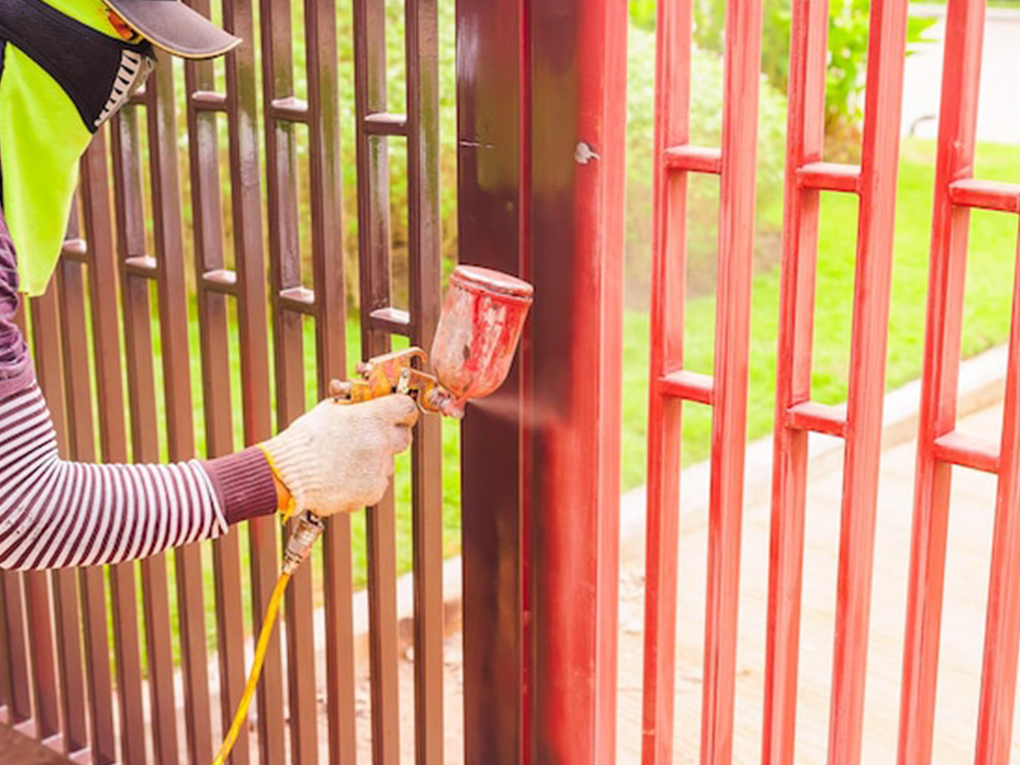
If you have a particularly long boundary, you might consider using an airless sprayer. Sprayers are incredibly fast, but they require meticulous masking of the surrounding area to manage overspray.
Step 5: Allow Ample Drying Time Between Coats
Patience is key. Always adhere to the manufacturer’s recommended drying times on the tin before applying the second coat. Rushing this process can reactivate the first layer, causing a messy, tacky finish.
Maintaining Your Newly Painted Fence
Once the project is complete, you will want to keep it looking fresh. Proper maintenance directly impacts how long does fence paint last, keeping your property looking fantastic for years.
Give it a gentle wash with a garden hose once a year to remove built-up dust and bird droppings. Keep encroaching vines and heavy foliage trimmed back, as they trap moisture against the timber and accelerate wear and tear.
Should You DIY or Hire a Professional?
Tackling this project yourself can be rewarding and cost-effective, provided you have the time, physical stamina, and right tools.
However, preparing and coating a large perimeter is labour-intensive backbreaking work. If this process sounds too time-consuming, bringing in an expert for professional fence painting can save you hassle and deliver a flawless result.
Professionals have access to commercial-grade sprayers and premium materials, ensuring the job is completed rapidly and to the highest standard.
Frequently Asked Questions (FAQs)
Do I need to sand my fence before painting?
If the existing coating is peeling or flaking, you absolutely must scrape and sand those areas smooth. If the timber is relatively smooth and just faded, a thorough wash and a light scuff-sand will suffice to help the new layer adhere.
Can I use a roller instead of a brush?
Yes, using a roller is highly recommended for the broad, flat surfaces of the palings as it is much faster and leaves a smoother finish. However, you will still need a brush to cut in the tight gaps and edges.
Is it better to spray or roll a timber boundary?
Spraying is significantly faster for long stretches but requires much more prep work to protect surrounding plants and neighbour’s property from overspray. Rolling is slower but offers more control.
Can I paint over treated pine?
Yes, but new treated pine must be left to weather for several weeks to months before application. The wood needs time to dry out completely, allowing the treatment chemicals to settle so the coating can adhere properly.
How long does the entire process take?
For a standard residential block, expect to spend one day on cleaning and preparation, and another full weekend applying the primer and two topcoats, factoring in the necessary drying times.
Understanding how to paint a fence step by step empowers you to take control of your home’s exterior appeal. By dedicating time to proper cleaning, selecting high-quality exterior products, and applying the coating methodically, you can achieve a stunning, durable finish that revitalises your entire garden.
Whether you decide to roll up your sleeves for a weekend DIY project or prefer to leave the heavy lifting to the experts, do not let your timber deteriorate any further. Plan your project, gather your supplies, and take the first step towards a vibrant, fully protected outdoor space today!
- Address: 71 Rochester Road, Balwyn, VIC 3103
- Hotline: 0401 851 598
- Email: pm@vcolour.com.au
- Website: www.vicpainter.com
- Facebook: facebook.com/fencepaintingmelbourne/
- Instagram: instagram.com/wallrepair.melbourne/