
Do You Need to Prime a Fence Before Painting?
Refreshing your backyard often starts with looking at the boundary lines. A freshly painted fence instantly boosts curb appeal, protects the timber from the elements, and frames your landscaping beautifully. However, as you stand in the hardware store holding a gallon of exterior paint, a critical question arises: do you need to prime a fence before painting? It is tempting to skip steps to save time and money. Painting is labor-intensive, and adding an entirely separate coat of primer feels like doubling the workload.
The Short Answer: Yes, But With a Few Exceptions
If you want a straightforward answer: yes, you should almost always prime a fence before painting it. Primer acts as the crucial foundation for your topcoat. Think of it as double-sided tape; it binds tightly to the raw wood on one side and provides an ideal, grippy surface for the paint on the other.
While primer is the industry standard for a durable finish, there are a few specific scenarios where you might be able to bypass this step, which we will cover later. However, for the vast majority of projects—especially those involving bare, weathered, or previously stained timber-primer is your best defense against premature paint failure.
Why Priming Your Fence is Crucial for a Lasting Finish
Understanding the science behind primer helps justify the extra effort. Here are the primary reasons why applying a primer coat is essential for exterior woodwork.
Superior Paint Adhesion
Wood is a highly porous material. If you apply paint directly to bare wood, the timber will unevenly absorb the moisture from the paint.
This leaves the binders and pigments stranded on the surface without a strong bond, leading to rapid peeling. Primer seals the pores of the wood, creating a smooth, uniform surface that allows the topcoat to adhere securely and cure evenly.
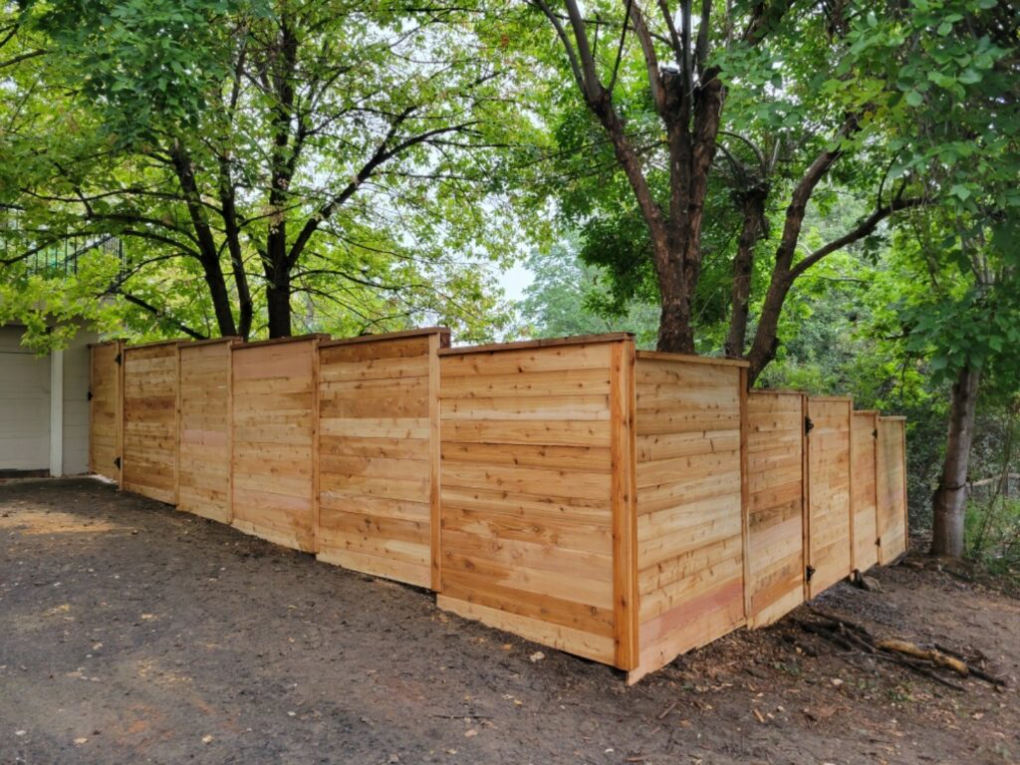
Blocking Stains and Tannin Bleed
Certain types of wood, such as cedar, redwood, and mahogany, contain natural compounds called tannins. When moisture hits these woods, the tannins bleed to the surface, creating ugly, brownish-yellow streaks that will ruin the look of your newly painted white or light-colored fence.
A high-quality, stain-blocking primer traps these tannins inside the wood, ensuring your topcoat remains pristine and color-accurate.
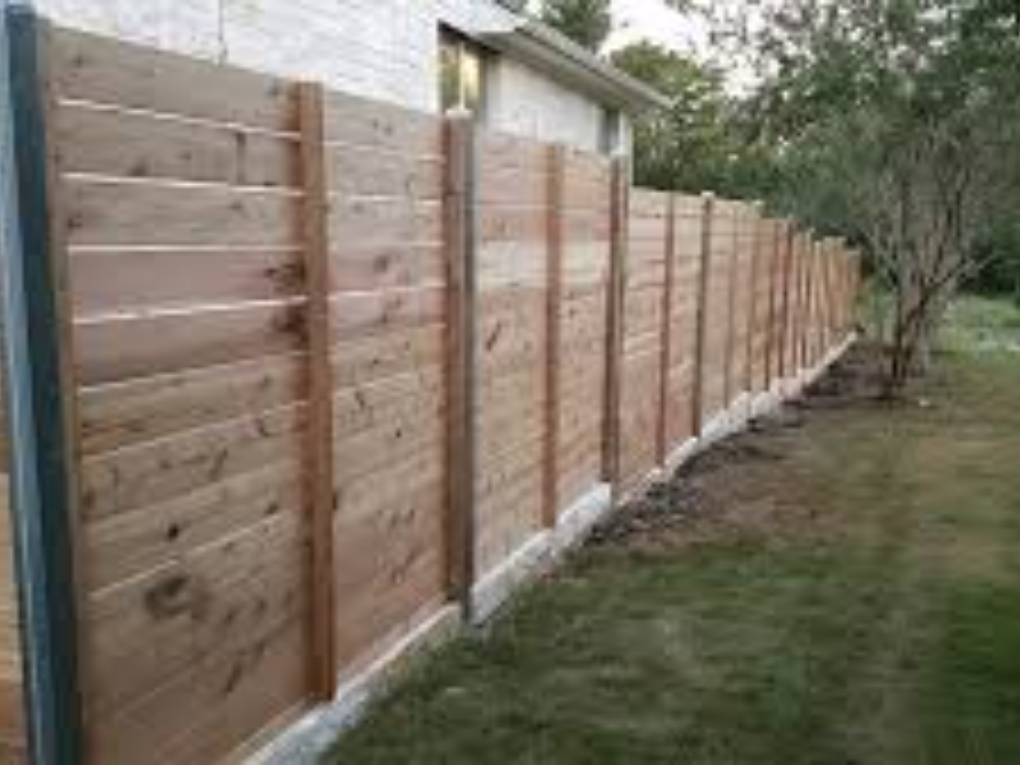
Enhancing Weather Protection and Longevity
Fences endure harsh conditions, from blistering summer sun to freezing winter rain. Primer adds an essential layer of moisture resistance.
By sealing the wood fibers, it prevents water infiltration that causes swelling, warping, and eventual rot. Taking the time to prime extends the lifespan of both your paint job and the fence itself, ultimately saving you money on costly repairs.
Are There Times When You Can Skip the Primer?
While priming is the golden rule, there are a few situations where you can safely move straight to the painting phase:
- You are using pre-primed timber: If you purchased brand-new fence palings that come factory-primed, you simply need to clean off any construction dust and start painting.
- Repainting a well-maintained fence: If your fence is already painted, the current paint is in excellent condition (no peeling, cracking, or bare spots), and you are applying a similar type of paint (e.g., acrylic over acrylic), you can usually just wash the fence, lightly scuff it, and apply the new coat.
- Using a premium “Paint and Primer in One”: Some high-end exterior paints contain built-in binding agents. While these are convenient for minor touch-ups or previously painted surfaces in good condition, professionals still recommend a dedicated primer for raw or heavily weathered wood.
How to Choose the Right Primer and Paint for Your Fence
Not all primers are created equal. Your choice depends entirely on the type and condition of your fence.
- Acrylic (Water-Based) Primer: Excellent for most exterior woods. It remains flexible, allowing it to expand and contract with the wood during temperature changes without cracking.
- Oil-Based Primer: The ultimate choice for tannin-rich woods like cedar or redwood, or for heavily stained and weathered timber. Oil primers penetrate deeply and provide unbeatable stain-blocking power.
Selecting the Perfect Topcoat
Once your foundation is set, you need a durable finish. Choosing a high-quality wood fence paint ensures that your barrier withstands harsh weather, resists UV fading, and maintains its vibrant color for years.
Always make sure your topcoat is chemically compatible with your chosen primer (e.g., applying water-based paint over a fully cured oil-based primer is standard practice, but read the manufacturer labels carefully).
Application Methods: Brush, Roller, or Spray?
The method you choose to apply your primer and paint will drastically impact your project timeline.
- Brushing: Great for working primer deep into the wood grain and tackling intricate details, but incredibly time-consuming for long fences.
- Rolling: Faster than brushing and ideal for flat surfaces, though you will still need a brush to cut in the edges and get between the slats.
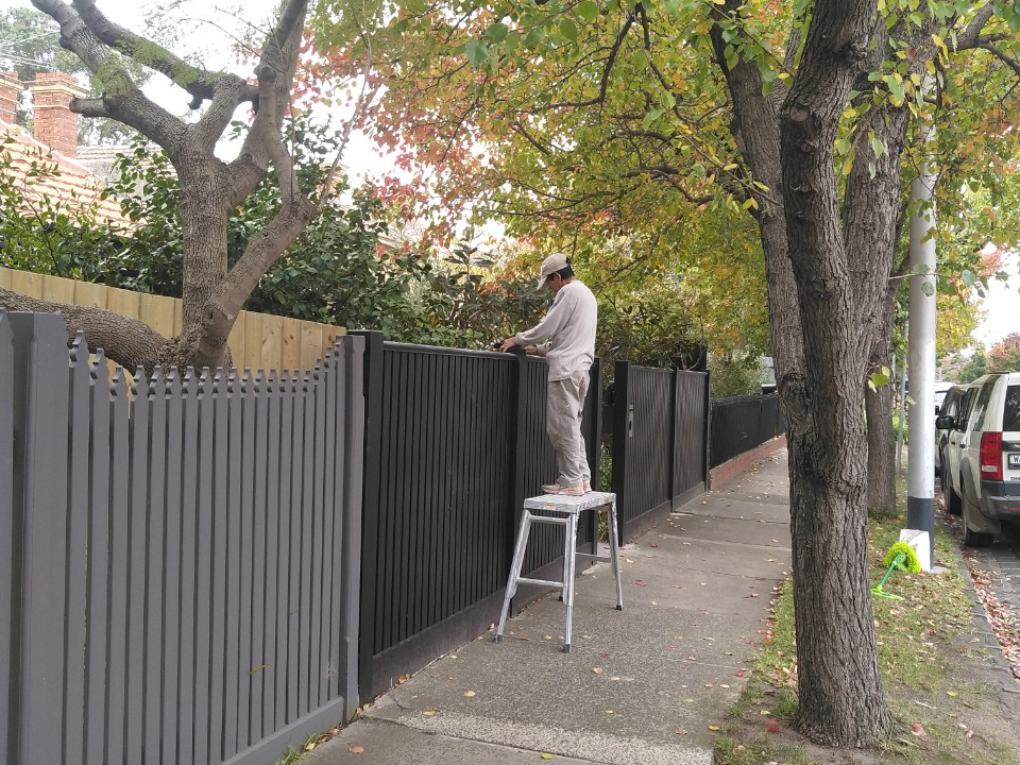
The Efficiency of Spraying
For medium to large properties, utilizing a spray paint fence method is often the most efficient route. Airless sprayers atomize the liquid, driving the primer and paint into every nook, cranny, and wood pore.
This not only cuts the application time in half but also results in a beautifully smooth, factory-like finish without unsightly brush marks.
Step-by-Step Guide to Preparing Your Fence for Painting
Preparation is 80% of the work in any successful painting project. Follow these steps to ensure your fence is ready for primer:
- Inspect and Repair: Walk the length of your fence. Replace any rotted boards, hammer in protruding nails, and secure loose panels.
- Clean Thoroughly: Dirt, algae, and mildew will prevent primer from sticking. Use a pressure washer (on a low setting to avoid gouging the wood) or a stiff brush with a specialized wood cleaner to remove all contaminants.
- Scrape and Sand: If you are dealing with an older painted fence, use a scraper to remove all loose, flaking paint. Lightly sand the entire surface to smooth out rough patches and open the wood grain.
- Allow to Dry: This is crucial. Never prime or paint wet wood. Allow the fence to dry for at least 48 to 72 hours of clear weather after washing.
The Value of Professional Expertise
DIY projects can be rewarding, but exterior painting requires significant physical labor, specialized equipment, and a deep understanding of weather conditions and material science.
If you lack the time, tools, or energy to tackle the preparation, priming, and painting of a large perimeter, hiring experts is a smart move.
Investing in professional fence painting guarantees that all the necessary prep work, including the vital priming stage, is handled meticulously, resulting in a stunning finish that will protect your property for years.
Frequently Asked Questions (FAQs)
How long should I let the primer dry before painting my fence?
Drying times vary by brand and type. Generally, acrylic primers dry to the touch in 1-2 hours and can be painted over in 3-4 hours. Oil-based primers require more time, usually 12-24 hours. Always check the manufacturer’s instructions on the can.
Can I use leftover interior primer on my outdoor fence?
No. Interior primers are not formulated to withstand temperature fluctuations, moisture, and UV rays. Using interior products outdoors will lead to rapid failure and peeling. Always use a dedicated exterior primer.
What happens if I just paint over old, peeling paint without priming?
The new paint will only adhere to the old, failing paint. Within a few weeks or months, the old paint will continue to detach from the wood, taking your brand-new topcoat with it. Proper scraping, sanding, and priming are mandatory.
Do I need two coats of primer on a bare wood fence?
In most cases, one generous, even coat of high-quality primer is sufficient. However, if the wood is extremely dry, porous, or heavily weathered, it may soak up the first coat entirely. If the surface still looks bare or uneven after the first coat dries, a second coat is recommended.
Does pressure-treated wood need primer?
Yes, but timing is key. New pressure-treated wood is infused with moisture and chemicals. You must wait for the wood to “cure” and dry completely-which can take several months—before applying an exterior primer and paint.
So, do you need to prime a fence before painting? Absolutely. While it adds an extra step to your weekend project, priming is the ultimate secret to achieving a durable, professional-looking finish.
By sealing the wood, blocking unsightly tannin stains, and providing a flawless anchor for your topcoat, primer ensures your hard work stands the test of time.
Whether you decide to tackle the job yourself with a brush and roller or call in the professionals to expertly spray the perimeter, never underestimate the power of proper preparation. Protect your investment, boost your curb appeal, and enjoy a beautiful fence that will weather the seasons with grace.