
How to paint a fence with a roller?
A freshly coated boundary can instantly elevate your property’s street appeal and protect your timber from the harsh elements. When it comes to tackling this outdoor project, many homeowners wonder about the most efficient method to get the job done right. Learning how to paint a fence with a roller is one of the most valuable DIY skills you can master. It strikes the perfect balance between the meticulous, time-consuming nature of a brush and the messy, equipment-heavy process of using a paint sprayer.
Whether you are looking to refresh a weathered boundary or add a vibrant new colour to your garden, mastering the roller technique will save you hours of strenuous labour. If you prefer a completely hands-off approach with guaranteed professional results, investing in expert fence painting services is always an excellent decision. However, if you are ready to roll up your sleeves and tackle the project yourself, this comprehensive guide will walk you through everything you need to know.
Why Choose a Roller Over a Brush or Sprayer?
Choosing the right tool for the job dictates both the speed of the project and the quality of the finish. Using a paint brush exclusively on a long timber boundary is exhausting and can leave visible brush strokes.
Conversely, while a paint sprayer is fast, it requires significant masking of nearby plants and structures to prevent overspray, and the equipment can be expensive to hire.
A roller offers the best of both worlds. It covers broad, flat surfaces rapidly and pushes the product deep into the grain of the timber. Furthermore, rolling provides a smooth, uniform texture without the risk of wind carrying paint particles onto your neighbour’s car or your delicate garden beds.
Essential Tools You Will Need for the Job
Before you open a single tin of paint, you must gather the correct equipment. Having everything within reach will make the process seamless. Here is what you need:
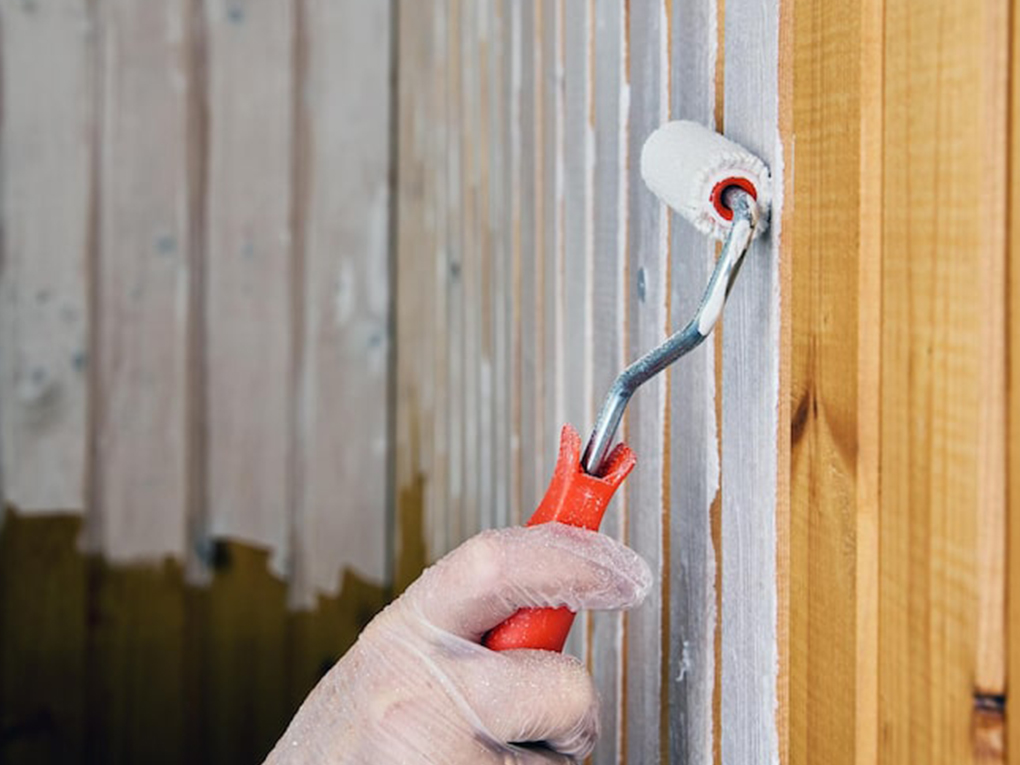
- A Quality Roller Cover: For rough timber surfaces, opt for a thick nap (18mm to 20mm) to ensure the product reaches into every crevice. For smooth, treated pine, a medium nap (10mm to 12mm) will suffice.
- Roller Frame and Extension Pole: An extension pole is crucial. It saves your back from constant bending and allows you to reach the top palings effortlessly.
- A High-Quality Paint Brush: You will still need a 50mm to 63mm angled brush for cutting in edges, corners, and areas the roller simply cannot reach.
- Paint Tray and Liners: Heavy-duty trays with disposable liners make clean-up significantly easier.
- Drop Sheets: Canvas or heavy plastic sheets are essential to protect your grass, paving, and soil from inevitable drips.
The Secret to a Long-Lasting Finish
The most critical phase of any outdoor painting project happens long before the roller touches the wood. Proper preparation ensures that your new colour adheres correctly and resists peeling or blistering in the sun.
Start by thoroughly cleaning the surface. Remove dirt, cobwebs, and loose debris with a stiff bristle brush. If the timber is particularly grimy or has mould, use a pressure washer or a dedicated timber cleaner, but ensure you give the wood ample time to dry completely.
Scrape away any flaking old paint and sand down rough patches. For a comprehensive look at the entire preparation and execution process from start to finish, understanding how to paint a fence step by step will set you up for absolute success.
Choosing the Ideal Weather Conditions
Timing is everything when undertaking exterior improvements. If you paint when it is too hot, the product will dry too quickly, leaving lap marks and uneven patches. If you paint when it is too cold or damp, the moisture will prevent proper adhesion, leading to premature failure of the coating.
Always check the forecast before you begin. You want a mild, dry day with low humidity and no rain expected for at least 48 hours. Planning your project around the best time of year to paint a fence ensures the climate works with you, rather than against you, yielding a much more durable and professional finish.
Rolling Your Way to Perfection
With your tools gathered and your preparation complete, it is time to start the transformation. Follow these steps for a flawless application.
Step 1: Cutting In the Edges
Do not start rolling immediately. First, use your angled brush to “cut in.” This means painting the intricate areas where the roller cannot fit, such as the spaces between palings, under the top rail, and around hardware or hinges.
Work in manageable sections (about two to three metres at a time) so the cut-in edges remain wet when you roll over them, ensuring a seamless blend.
Step 2: Loading Your Roller Correctly
Pour your chosen product into the deep end of your paint tray. Dip the roller cover into the well, then roll it back and forth on the textured ramp of the tray. The goal is to saturate the nap evenly without it dripping excessively. If the roller is too dry, it will drag on the timber; if it is too wet, it will flick speckles everywhere.
Step 3: Applying the First Coat
Place the roller against the timber and use steady, even pressure. Roll in long, continuous vertical strokes, matching the direction of the timber grain.
Overlap each stroke slightly to prevent bare patches. Let the roller do the work—there is no need to press aggressively into the wood. Once you finish a section, lightly roll back over it without adding extra paint to smooth out any heavy edges or drips.
Making the Big Decisions: Products and Application
Choosing the right finish is vital for the longevity of your boundary. Homeowners often find themselves weighing the benefits of different protective coatings.
Taking the time to evaluate fence paint vs fence stain is a crucial step. Paint provides a solid, opaque colour that covers imperfections and offers maximum UV protection, while a stain penetrates the timber, enhancing the natural grain for a more rustic aesthetic.
Once you have chosen your product, you must apply enough of it to ensure adequate protection. Applying a single, thin layer is rarely enough to withstand harsh weather conditions.
To guarantee a rich colour and a robust barrier against the elements, it is important to know exactly how many coats of paint does a fence need. Generally, a minimum of two solid coats is recommended for a professional-grade finish.
Frequently Asked Questions (FAQs)
What size nap roller is best for painting a timber fence?
For most standard rough-sawn timber palings, a thick nap roller (18mm to 20mm) is ideal as it holds more paint and reaches deep into the uneven surface. For smooth, dressed timber, a 10mm to 12mm nap will provide a cleaner finish.
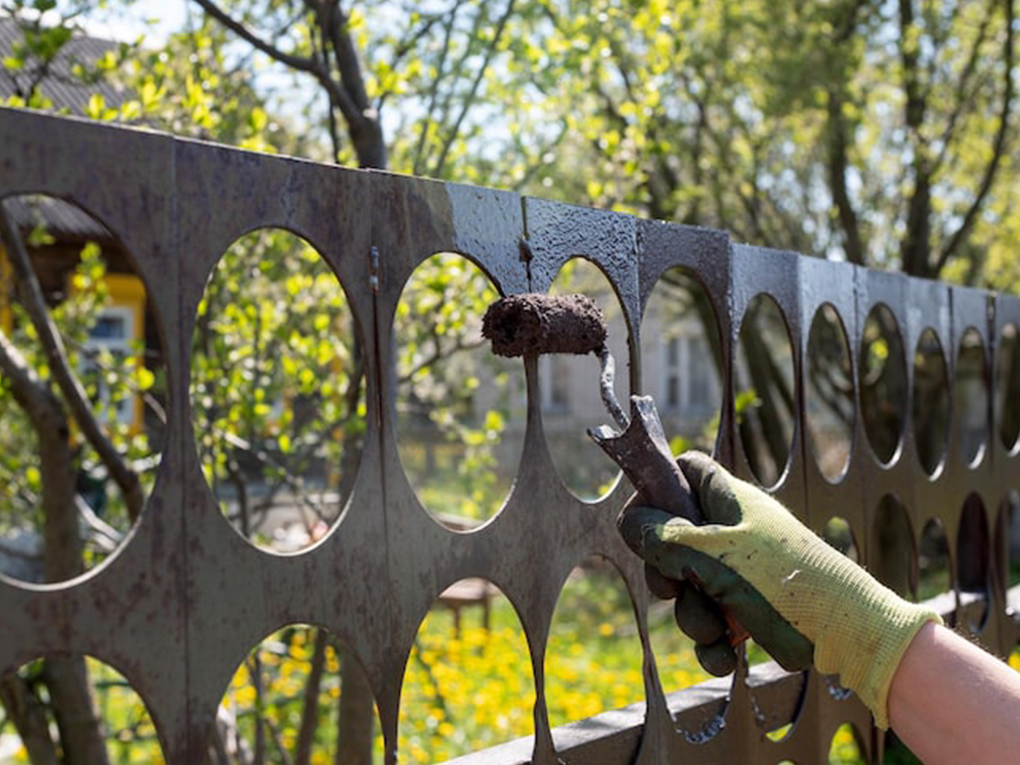
Can I use a roller on a Colorbond fence?
Yes, but you must use a specific metal primer and an exterior acrylic or enamel suited for metal. You will also need a short nap roller (around 5mm to 8mm) to ensure a perfectly smooth, factory-like finish without stipple marks.
Do I need to prime my fence before rolling on the paint?
If your timber is brand new, unpainted, or if you are making a drastic colour change (like dark brown to light grey), a high-quality exterior primer is essential. It seals the wood, blocks tannins from bleeding through, and provides a stable base for your topcoats.
How do I clean my roller after the job is done?
If you used water-based acrylic paint, scrape excess product back into the tin, then wash the roller cover thoroughly with warm water and a mild detergent until the water runs completely clear. Allow it to air dry standing upright.
How much paint will I need for my project?
Coverage rates vary depending on the porosity of the timber and the thickness of the roller nap. Generally, rough timber absorbs a lot of product. Always check the manufacturer’s coverage guide on the tin and buy slightly more than you calculate to avoid running out mid-project.
Learning how to paint a fence with a roller is a rewarding endeavour that drastically improves the visual appeal and longevity of your property’s perimeter. By selecting the right tools, dedicating time to thorough preparation, and applying smooth, overlapping strokes, you can achieve a finish that rivals top-tier workmanship.
However, if you lack the time, energy, or desire to spend your weekend covered in primer, you do not have to settle for a weathered, peeling boundary.
Leave the heavy lifting, precise cutting in, and flawless rolling to the experts. Contact us today for a professional consultation, and let us breathe new life into your outdoor space with efficiency and unparalleled skill.
- Address: 71 Rochester Road, Balwyn, VIC 3103
- Hotline: 0401 851 598
- Email: pm@vcolour.com.au
- Website: www.vicpainter.com
- Facebook: facebook.com/fencepaintingmelbourne/
- Instagram: instagram.com/wallrepair.melbourne/